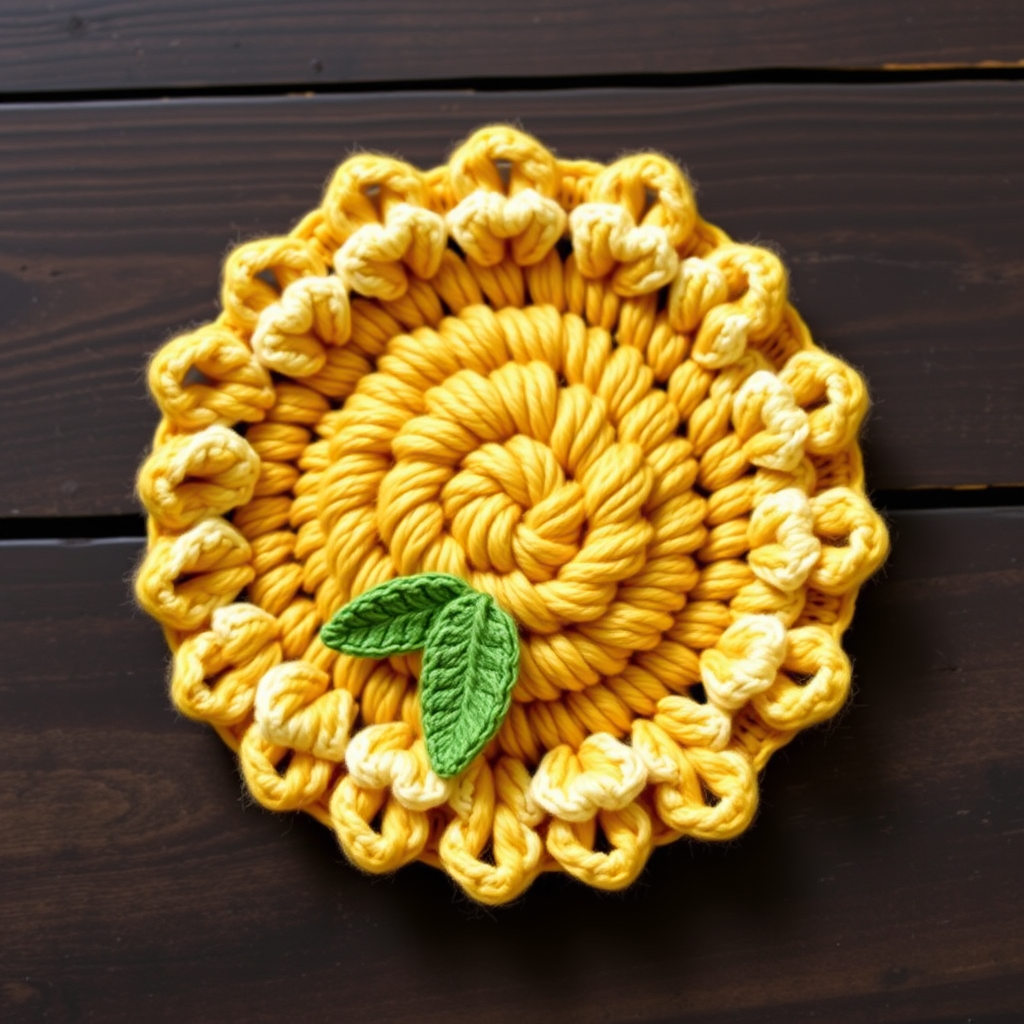
Whispering Pines Forest Pillow Free Pattern – Crochet a Textured Woodland Cushion

Bring the Forest Home: Crochet the Whispering Pines Pillow
Imagine sinking into your sofa after a long day, surrounded by the calming, earthy tones of a pine forest. With the Whispering Pines Forest Pillow, you can capture that serene woodland essence and weave it into a stunning, textured home accent. This free crochet pattern is more than just a project; it's an experience. The rhythmic repetition of bobble stitches creates a tactile surface reminiscent of pine needles, while the deep forest green and mossy hues bring a touch of the great outdoors inside. Whether you're a seasoned crocheter looking for a satisfying weekend project or a confident beginner ready for a new challenge, this pillow is the perfect way to add a cozy, rustic charm to any room.
This pattern is designed to be both beautiful and achievable. We'll guide you through every step, from the foundation chain to the final decorative bow, ensuring your finished pillow is a masterpiece of comfort and style. Let's gather our materials and begin this journey into woodland crafting.
Materials Needed
Before you begin, ensure you have all the necessary supplies. The quality of your yarn will greatly affect the final look and feel of your pillow, so choose a soft, durable worsted weight yarn for the best results.
- Yarn: Worsted weight yarn in three shades:
- Main Color (MC): Deep Forest Green – approximately 400g (about 4 skeins)
- Contrast Color 1 (CC1): Moss Green – approximately 150g (about 2 skeins)
- Contrast Color 2 (CC2): Cream – approximately 100g (about 1 skein)
- Crochet Hook: 5.5mm (US I-9) hook
- Pillow Form: 16x16 inch (40x40 cm) pillow insert
- Other: Yarn needle for weaving in ends, scissors
Gauge
To ensure your pillow is the correct size, it's crucial to match the gauge. 14 stitches and 16 rows = 4 inches (10 cm) in single crochet. Always make a gauge swatch before starting to avoid disappointment. If your gauge is off, adjust your hook size accordingly.
Step-by-Step Instructions
This pattern is worked in two separate panels and then assembled. The front panel features the beautiful textured bobble pattern, while the back is a smooth, solid color. Let's start with the star of the show.
Front Panel (Make 1)
Foundation: With your Main Color (MC) yarn, make a slip knot and chain 62 stitches.
Row 1: Single crochet (sc) in the 2nd chain from your hook and in each chain across. Turn your work. You should have 61 single crochet stitches.
Row 2 (Pattern Row): Chain 1 (this counts as your first sc), sc in the next 4 stitches (so you have 5 sc total). Now, for the bobble pattern: *Skip the next 2 stitches. In the very next stitch, work 5 double crochet (dc) stitches. Skip the next 2 stitches. Sc in the next 3 stitches.* Repeat from * to * across the row, ending with sc in the last 5 stitches. Turn.
Row 3: Chain 1, sc in each stitch across the entire row. Turn. (61 sc)
Rows 4-29: Repeat Rows 2 and 3 alternately. This means you will work the bobble pattern row (Row 2) on all even-numbered rows (4, 6, 8, etc.) and the plain single crochet row (Row 3) on all odd-numbered rows (5, 7, 9, etc.). Continue this pattern until you have completed Row 29.
Row 30: Chain 1, sc in each stitch across. Fasten off and weave in the ends. Your front panel is complete!
Back Panel (Make 1)
The back panel is wonderfully simple and provides a beautiful contrast. Using your Contrast Color 1 (CC1) moss green yarn, repeat the exact same instructions as the front panel. Work Rows 1 through 30, alternating the pattern and plain rows. This will create a matching textured panel, but in a different color. Fasten off and weave in the ends.
Assembly
Now it's time to bring your pillow together.
- Place your front and back panels together with their wrong sides facing each other. Make sure the edges are aligned neatly.
- Using your Main Color (MC) yarn and your 5.5mm hook, begin at one corner. Work a single crochet through both layers of the panels to join them. Work 3 sc in each corner to ensure the corners are sharp and don't pucker.
- Continue working sc around all four edges. When you reach a side, stop with about 10 inches (25 cm) left open. This will be your turning opening.
- Carefully insert your 16x16 inch pillow form through the opening.
- Continue working sc across the opening to close it. When you reach the starting point, slip stitch to join, fasten off, and weave in all loose ends securely.
Optional Embellishment: The Decorative Bow
To add that final touch of woodland charm, let's create the cream-colored bow.
- With your Contrast Color 2 (CC2) cream yarn, make a slip knot and chain 80 stitches.
- Fasten off and weave in the ends.
- Tie this chain into a neat bow, just like you would tie a shoelace.
- Using your yarn needle and a small piece of CC2 yarn, securely stitch the bow to the center of the front panel of your pillow.
And there you have it! Your very own Whispering Pines Forest Pillow. This textured, cozy cushion is sure to become a favorite in your home, bringing a touch of the tranquil forest to your living space. Enjoy your beautiful creation!