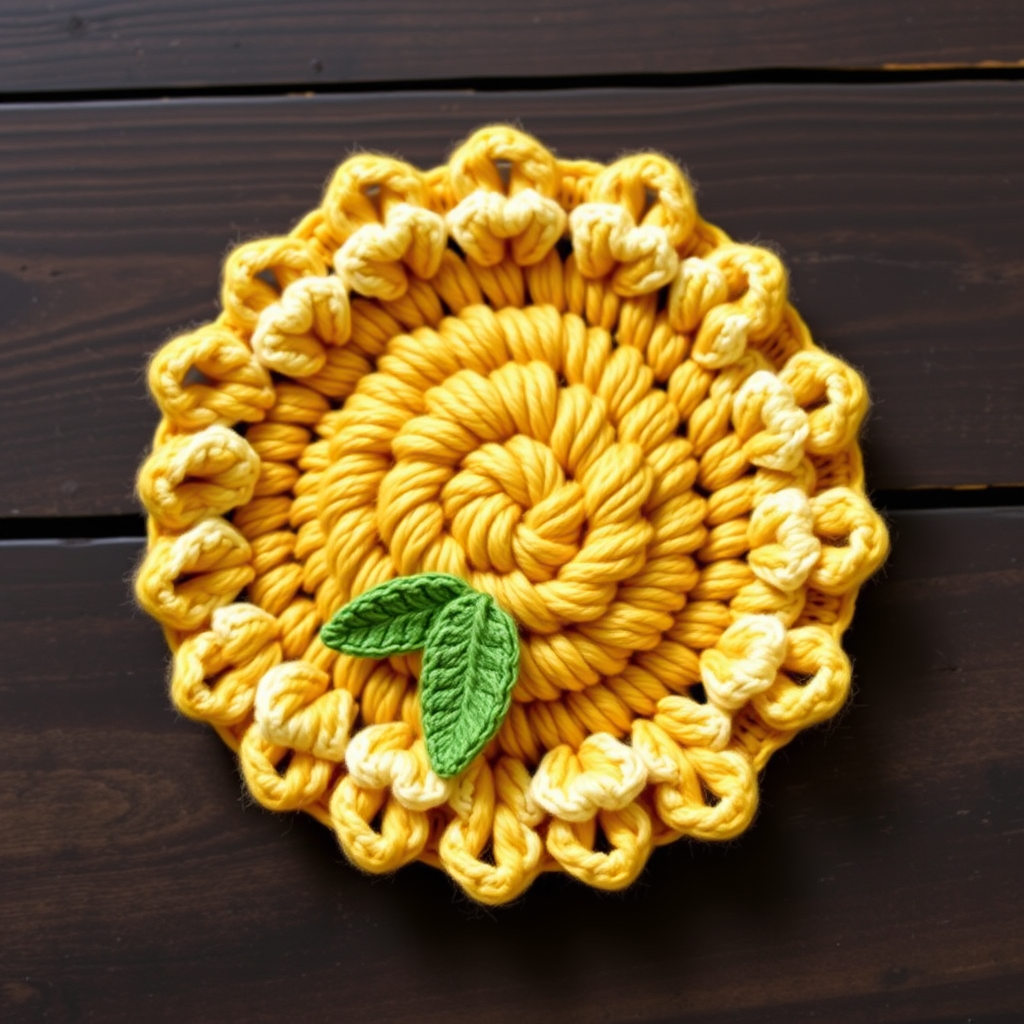
Whispering Pines Forest Floor Throw Free Pattern – A Crocheted Woodland Tapestry

Whispering Pines Forest Floor Throw Free Pattern – A Crocheted Woodland Tapestry
Imagine wrapping yourself in the quiet serenity of a pine forest—the dappled sunlight filtering through towering trees, the soft crunch of needles underfoot, and the earthy, grounding palette of nature. The Whispering Pines Forest Floor Throw captures this tranquil beauty in a textured, mosaic-style crochet blanket that will become the centerpiece of your cozy living space.
This free crochet pattern uses a clever crossed double crochet stitch to create a woven, tapestry-like texture that mimics the organic layers of a forest floor. The earthy color palette—deep forest green, muted moss, soft sage, warm brown, and cream—forms horizontal bands of textured stripes that evoke the natural strata of pine needles and earth. The result is a rustic, woodland-inspired throw that drapes beautifully and adds warmth to any room.
Whether you're an experienced crocheter looking for a meditative project or a confident beginner ready to expand your skills, this pattern is designed to be both relaxing and rewarding. Let's gather our materials and begin this journey into the heart of the woods.
Materials Needed
Before we begin, let's gather all the supplies you'll need for this project. Having everything prepared will make your crocheting experience smooth and enjoyable.
Yarn
You'll need worsted weight yarn in 5 beautiful, earthy colors. The approximate total yardage is 1800g (about 3,600 yards), but this can vary based on your tension and the final size of your throw.
- Color A – Forest Green: Approx. 400g (for foundation and first textured band)
- Color B – Moss Green: Approx. 350g (for solid and textured rows)
- Color C – Sage: Approx. 350g (for solid and textured rows)
- Color D – Warm Brown: Approx. 350g (for solid and textured rows)
- Color E – Cream: Approx. 350g (for solid, textured rows, and border)
Pro tip: Choose yarns with good stitch definition, such as a soft acrylic or wool blend, to really showcase the crossed stitch texture.
Hook and Notions
- 5.5mm (I-9) crochet hook – This size is perfect for worsted weight yarn and will give you the correct gauge.
- Yarn needle – For weaving in those pesky ends at the end of the project.
- Scissors – For cutting yarn.
- Stitch markers (optional) – Helpful for keeping track of your rows, especially if you take breaks.
Gauge
To ensure your throw comes out the correct size, it's important to check your gauge. In the mosaic pattern (the crossed dc stitch), you should have:
14 double crochet (dc) x 8 rows = 4 inches (10 cm)
If your gauge is off, try adjusting your hook size. A smaller hook will give you more stitches per inch, while a larger hook will give you fewer.
Step-by-Step Instructions
Now, let's dive into the pattern. This throw is worked in horizontal rows, alternating between solid double crochet rows and textured crossed double crochet rows. The pattern is repetitive and meditative once you get the hang of the crossed stitch.
Understanding the Crossed Double Crochet Stitch
Before we start, let's break down the key stitch used in this pattern. The crossed dc creates a beautiful woven texture:
- Skip the next stitch.
- Double crochet in the following stitch.
- Working behind the dc you just made, double crochet in the skipped stitch.
This creates an "X" shape. Practice this on a small swatch first if you're new to the technique—it's easier than it looks!
Foundation Row
Let's start by creating the base of our throw.
- With Color A (Forest Green), make a loose chain of 120 stitches. A loose chain is crucial here to prevent the foundation edge from being too tight and curling.
- Work 1 double crochet (dc) in the 4th chain from your hook. The first 3 chains count as your first dc.
- Work 1 dc in each chain across. You should have 118 dc total (including the initial chain-3). Turn your work.
Row 1 (Right Side) – Textured Band with Color A
This row establishes the first textured band.
- With Color A, chain 3 (this counts as your first dc).
- Skip the next dc, then dc in the following dc.
- Working behind the dc you just made, dc in the skipped stitch. This completes one crossed dc.
- Repeat steps 2-3 across the entire row until you reach the last dc.
- Work 1 dc in the last dc to finish the row. Turn.
Row 2 – Solid Band with Color B
Now we switch to our second color for a solid, grounding row.
- With Color B (Moss Green), chain 3 (counts as first dc).
- Dc in each dc across the row. This is a simple, restful row that gives your eyes and hands a break from the texture.
- Turn your work.
Row 3 – Textured Band with Color B
We'll repeat the crossed stitch pattern with the same color.
- With Color B, chain 3.
- Repeat the crossed dc pattern exactly as you did in Row 1: skip next dc, dc in next dc, working behind the dc just made, dc in skipped dc.
- Continue across, ending with 1 dc in the last dc. Turn.
Row 4 – Solid Band with Color C
Time for our third color to add another layer of earthy depth.
- With Color C (Sage), chain 3.
- Dc in each dc across. Turn.
Row 5 – Textured Band with Color C
- With Color C, chain 3.
- Repeat the crossed dc pattern across the row.
- End with 1 dc in the last dc. Turn.
Row 6 – Solid Band with Color D
Introducing the warm brown, reminiscent of rich forest soil.
- With Color D (Warm Brown), chain 3.
- Dc in each dc across. Turn.
Row 7 – Textured Band with Color D
- With Color D, chain 3.
- Repeat the crossed dc pattern across the row.
- End with 1 dc in the last dc. Turn.
Row 8 – Solid Band with Color E
Now we bring in the light, cream color—like sunlight breaking through the canopy.
- With Color E (Cream), chain 3.
- Dc in each dc across. Turn.
Row 9 – Textured Band with Color E
- With Color E, chain 3.
- Repeat the crossed dc pattern across the row.
- End with 1 dc in the last dc. Turn.
Repeating the Pattern
You've now completed one full sequence of colors! This is where the magic happens.
- Repeat Rows 2 through 9 in sequence until your throw measures approximately 60 inches from the foundation chain.
- Important: End your throw with a Row 8 repeat—that is, a solid dc row. This ensures your final edge is clean and stable, matching your foundation.
Note: As you work, your throw will naturally grow. The alternating solid and textured rows create a beautiful rhythm. Take your time and enjoy the process!
Adding the Border
Once your throw reaches the desired length, it's time to finish it off with a clean, simple border.
- With Color E (Cream), start at any corner.
- Work 1 single crochet (sc) in each dc across the top and bottom edges of the throw.
- Along the side edges, work 2 sc in each row-end (the side of each dc row). This helps keep the edges from curling.
- When you reach a corner, work 3 sc in the corner stitch to turn the corner smoothly.
- Continue around the entire perimeter of the throw.
- Join with a slip stitch (sl st) to the first sc.
- Fasten off and weave in all loose ends with your yarn needle.
Final Thoughts
Congratulations! You've created your very own Whispering Pines Forest Floor Throw. This beautiful, textured blanket is more than just a home decor piece—it's a testament to the calming, meditative power of crochet. The earthy colors and woven texture will bring a touch of the serene woodland into your home for years to come.
This pattern is perfect for gifting, especially for nature lovers or anyone who appreciates handmade, rustic decor. Remember, the beauty of handmade items lies in their unique imperfections—each stitch tells a story.
We'd love to see your finished throw! Share your creation on social media with the hashtag #WhisperingPinesThrow and inspire others to bring a little forest magic into their homes. Happy crocheting!