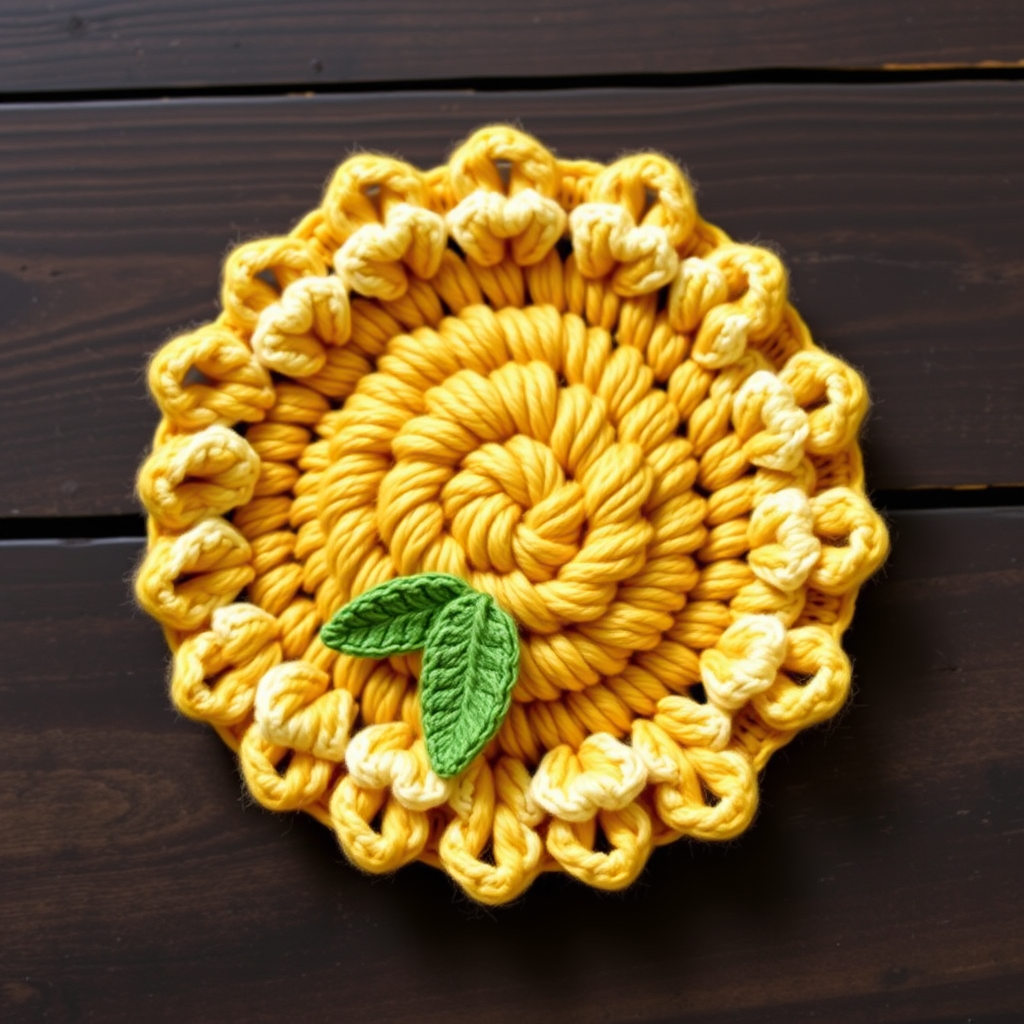
Whirlwind Garden Spiral Windsock Free Pattern – Crochet a Twirling Floral Breeze Catcher

Whirlwind Garden Spiral Windsock Free Pattern – Crochet a Twirling Floral Breeze Catcher
Transform your porch or garden into a whimsical haven with this crocheted spiral windsock, featuring cascading petals and a gentle twirl in the breeze. Handcrafted from soft cotton yarn, it's a charming, nature-inspired accent that dances with every gust. This pattern is perfect for beginners and experienced crocheters alike, offering a satisfying project that brings a touch of handmade magic to your outdoor space.
Why You'll Love This Project
This windsock is more than just a decoration—it's a celebration of color and motion. The spiral design catches the wind beautifully, while the lacy shell stitches create an airy, light-catching texture. Made with durable cotton yarn, it's built to withstand the elements while maintaining its cheerful charm. Whether you're looking to add a pop of color to your porch or searching for a unique handmade gift, this pattern delivers on both style and substance.
Materials Needed
Before you begin, gather the following supplies:
- Yarn: Worsted weight cotton yarn in 4 colors:
- Sunny yellow (A) – approximately 50 yards
- Coral pink (B) – approximately 50 yards
- Sage green (C) – approximately 50 yards
- Sky blue (D) – approximately 50 yards
- Hook: 5.0 mm (H-8) crochet hook
- Stitch markers (to track rounds)
- Yarn needle for weaving in ends and sewing petals
- Scissors
- Optional: Small weight (like a fabric-covered washer) and a small crocheted pouch to help the windsock hang straight
Gauge
4 inches = 16 sc and 18 rows in sc. Gauge is not critical for this project, but consistent tension helps the spiral shape form correctly. Don't worry if your gauge is slightly off—the windsock will still look beautiful!
Step-by-Step Instructions
Getting Started
This windsock is worked in a continuous spiral from the top ring down, with petals added along the way. Use a stitch marker to track your rounds. The pattern uses standard US crochet terminology.
Top Ring
Round 1: With color A, make a magic ring, ch 1, work 6 sc into ring. Pull tight. (6 sts)
Round 2: Work 2 sc in each st around. (12 sts)
Round 3: *Sc in next st, 2 sc in next st* repeat around. (18 sts)
Round 4: *Sc in next 2 sts, 2 sc in next st* repeat around. (24 sts)
Round 5: *Sc in next 3 sts, 2 sc in next st* repeat around. (30 sts)
Round 6: *Sc in next 4 sts, 2 sc in next st* repeat around. (36 sts)
Round 7: *Sc in next 5 sts, 2 sc in next st* repeat around. (42 sts)
Round 8: *Sc in next 6 sts, 2 sc in next st* repeat around. (48 sts)
Round 9: *Sc in next 7 sts, 2 sc in next st* repeat around. (54 sts)
Round 10: *Sc in next 8 sts, 2 sc in next st* repeat around. (60 sts)
Round 11: Sc in each st around. (60 sts) – This forms the sturdy top ring.
Pro Tip: The magic ring is essential for a tight, clean center. If you're new to magic rings, practice a few times—it's worth the effort for a professional finish!
Spiral Body
Round 12: Switch to color B. Ch 3 (counts as first dc), dc in next 4 sts, then *ch 2, skip 2 sts, dc in next 5 sts* repeat from * around, ending with ch 2, skip 2 sts, sl st to top of ch-3. (10 groups of 5 dc, 10 ch-2 spaces)
Round 13: Ch 3, dc in next 4 dc, *2 dc in ch-2 space, dc in next 5 dc* repeat around, ending with 2 dc in last ch-2 space, sl st to top of ch-3. (70 dc)
Round 14: Ch 1, sc in each st around, sl st to first sc. (70 sts)
Round 15: Switch to color C. Ch 3, dc in next 4 sts, *ch 2, skip 2 sts, dc in next 5 sts* repeat around, ending with ch 2, skip 2 sts, sl st to top of ch-3. (10 groups of 5 dc, 10 ch-2 spaces)
Round 16: Repeat Round 13. (70 dc)
Round 17: Ch 1, sc in each st around, sl st to first sc. (70 sts)
Round 18: Switch to color D. Repeat Rounds 15-17.
Round 19: Switch to color A. Repeat Rounds 15-17.
Round 20: Switch to color B. Repeat Rounds 15-17.
Continue alternating colors (C, D, A, B) and repeating Rounds 15-17 until the body measures approximately 18 inches from the top ring. End with a sc round.
Color Pattern Reminder: The color sequence is C (sage green), D (sky blue), A (sunny yellow), B (coral pink). Keep a small note nearby to track your color changes!
Bottom Edge
Next Round: Ch 1, *sc in next 5 sts, 2 sc in next st* repeat around, sl st to first sc. (84 sts)
Next Round: Ch 1, sc in each st around, sl st to first sc. (84 sts)
Fasten off and weave in ends.
Petals (Make 12)
With color B (or any accent color), ch 6.
Row 1: Sc in 2nd ch from hook, hdc in next ch, dc in next 2 ch, hdc in last ch. (5 sts)
Row 2: Ch 1, turn, sc in first st, hdc in next st, dc in next st, hdc in next st, sc in last st. (5 sts)
Fasten off, leaving a long tail for sewing.
Attaching the Petals: Sew petals evenly around the bottom edge, spacing them about 7 sts apart, with the pointed end facing downward. Use the long tail to secure each petal firmly to the windsock body.
Hanging Loop
With color A, ch 30, sl st to first ch to form a loop. Fasten off and attach to the top ring at two opposite points, creating a balanced hanging loop. Make sure the loop is centered so the windsock hangs evenly.
Finishing Touches
Weave in all ends securely. Optionally, add a small weight (like a fabric-covered washer) inside the bottom edge to help the windsock hang straight. Ensure it's securely enclosed in a small crocheted pouch to avoid damage.
Weight Option: If you live in a windy area, adding a small weight will help the windsock maintain its shape and prevent it from tangling. A simple crocheted pouch with a washer inside works perfectly!
Care Instructions
To keep your windsock looking fresh, gently hand wash in cold water with mild detergent and lay flat to dry. Avoid wringing or twisting, as this can distort the spiral shape. With proper care, your Whirlwind Garden windsock will bring joy for many seasons to come.
Customization Ideas
Feel free to make this pattern your own! Try different color combinations to match your garden's palette, or experiment with variegated yarn for a unique effect. You can also adjust the length by adding or removing color repeats—just remember to end with a sc round before the bottom edge.
This windsock makes a wonderful handmade gift for housewarmings, birthdays, or just because. The recipient will love watching the petals dance in the breeze, knowing it was crafted with care just for them.
Happy crocheting, and may your garden be filled with twirling color and joy!