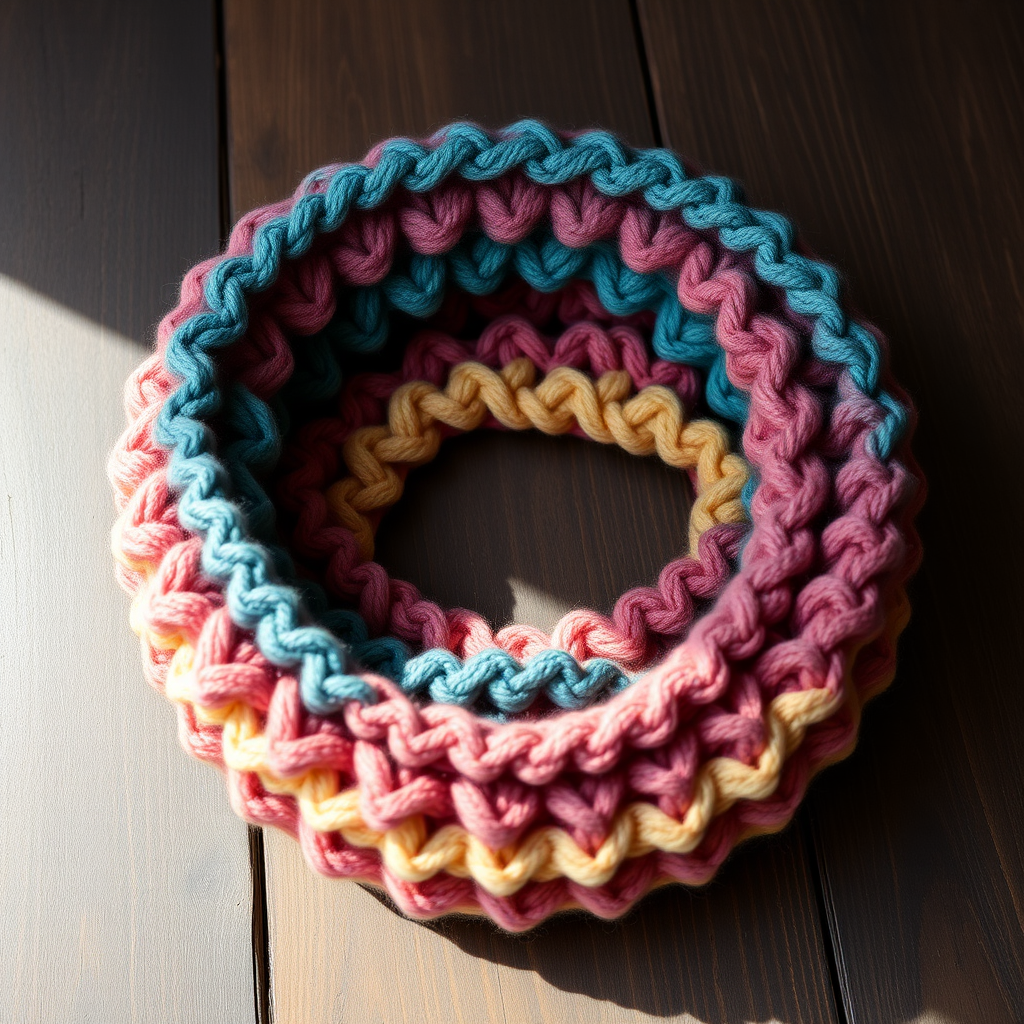
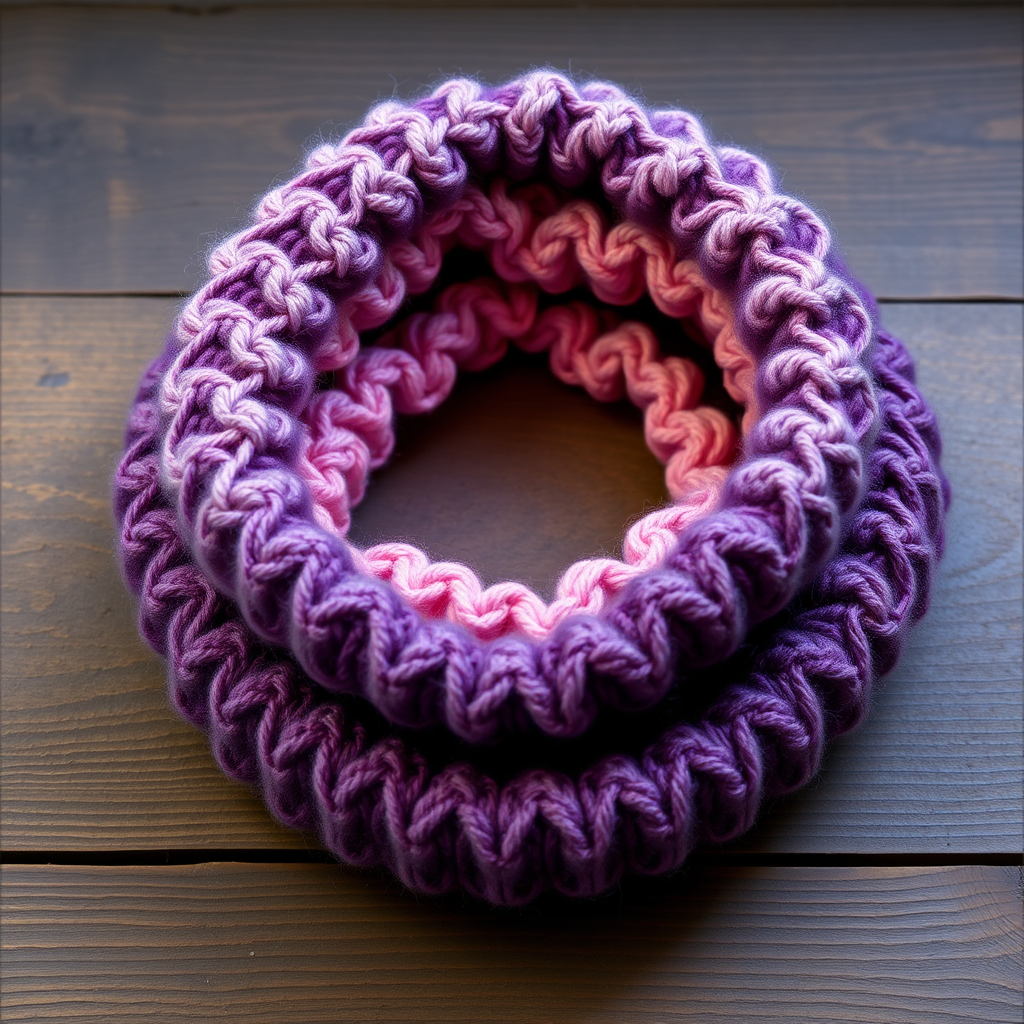
The Whispering Pines Boreal Cowl: A Free Knitting Pattern for a Textured, Ombre Winter Accessory

Wrap Yourself in Winter's Embrace: The Whispering Pines Boreal Cowl
Imagine the quiet beauty of a snow-dusted forest, where deep green pines give way to soft, silvery skies. That serene transition is captured in the Whispering Pines Boreal Cowl, a free knitting pattern that combines a richly textured lattice stitch with a stunning ombre color gradient. This modern, heirloom-quality accessory is not just a cozy neck warmer; it's a statement piece that brings the tranquility of nature into your everyday style. The unique slipped-stitch pattern creates a woven, almost braided look that is deceptively simple to knit, making this a rewarding project for confident beginners and experienced knitters alike.
Materials Needed
Before you begin, gather the following supplies. Using the correct materials ensures your cowl will match the gauge and have the beautiful drape shown in the pattern.
- Yarn: Worsted weight (#4) yarn in two colors. You will need approximately 180 yards of each color.
- Color A (Forest Green): 180 yards
- Color B (Silver Gray): 180 yards
- Needles: US Size 8 (5.0 mm) 16-inch circular knitting needle. A circular needle is essential for working in the round.
- Notions: Stitch marker (to mark the beginning of the round), tapestry needle (for weaving in ends).
- Gauge: 18 stitches and 24 rows = 4 inches in stockinette stitch, blocked. Always check your gauge to ensure your finished cowl will be the correct size.
Step-by-Step Instructions
This cowl is worked in the round from the bottom up. The stitch pattern is a 4-row repeat that creates a beautiful, woven-like lattice. The ombre effect is achieved by gradually changing from Color A to Color B over the course of the project. Follow these detailed instructions carefully for a flawless finish.
Abbreviations
- k = knit
- p = purl
- sl = slip stitch purlwise with yarn in back (wyib)
- k2tog = knit two together
Setup
With Color A, cast on 144 stitches. Place a stitch marker to mark the beginning of the round, and join in the round, being very careful not to twist your stitches. The cast-on edge should lie flat and not be twisted around the needle.
Ribbing
Work in k2, p2 ribbing for 1.5 inches. This is approximately 10 rounds. To do this, repeat the following round: *Knit 2, purl 2; repeat from * to the end of the round. This creates a stretchy, neat edge.
Body (Lattice Pattern)
Now you will begin the main lattice pattern. Repeat these 4 rounds until the body measures 10 inches from the cast-on edge, following the ombre transition instructions below.
- Round 1: *K2, sl2 (slip 2 stitches purlwise with yarn in back); repeat from * to end.
- Round 2: *P2, sl2 (slip 2 stitches purlwise with yarn in back); repeat from * to end.
- Round 3: *K2tog, do not drop stitches from left needle, knit the first stitch again, drop both stitches from left needle (this is a k2tog with a twist), sl2 (slip 2 stitches purlwise with yarn in back); repeat from * to end.
- Round 4: *P2, sl2 (slip 2 stitches purlwise with yarn in back); repeat from * to end.
Important Note on Round 3: This is the key to the lattice texture. When you k2tog, do not slide the stitches off the left needle. Instead, insert the right needle into the first stitch again (the one you just knit into) and knit it. Then drop both stitches from the left needle. This creates a twisted, elongated stitch that forms the lattice.
Ombre Transition
To create the beautiful gradient from Forest Green to Silver Gray, follow this color-changing schedule. The total body length is 10 inches.
- First 4 inches: Work the lattice pattern entirely in Color A (Forest Green).
- Next 2 inches: Begin transitioning. Work 2 rounds with Color A and 2 rounds with Color B, alternating. This creates a subtle blend.
- Next 2 inches: Continue the transition. Work 2 rounds with Color B and 2 rounds with Color A, alternating. This shifts the balance toward Color B.
- Final 2 inches: Work the remaining 2 inches entirely in Color B (Silver Gray).
Pro Tip: When changing colors, carry the unused yarn loosely up the inside of the work. Do not cut the yarn until you are finished with that color, as you will need it for the ribbing.
Finishing
Once the body measures 10 inches from the cast-on edge, you will finish with the top ribbing.
- Top Ribbing: Work in k2, p2 ribbing for 1.5 inches (approximately 10 rounds) using Color B.
- Bind Off: Bind off loosely in pattern. This means you will knit the knit stitches and purl the purl stitches as you bind off. A loose bind-off is crucial to maintain the stretchiness of the edge. You can use a larger needle or a stretchy bind-off method like the "Jeny's Surprisingly Stretchy Bind-Off" if needed.
- Weave in Ends: Use your tapestry needle to weave in all loose ends securely on the wrong side of the work.
- Blocking: Gently block the cowl to open up the stitch pattern and even out the tension. Soak the cowl in lukewarm water for 15-20 minutes, gently squeeze out excess water (do not wring), and lay flat to dry, shaping it to the desired dimensions (approximately 12 inches tall and 28 inches in circumference).
Your Whispering Pines Boreal Cowl is now complete! Enjoy the cozy, textured warmth and the serene ombre gradient that brings a touch of the winter forest to your wardrobe.