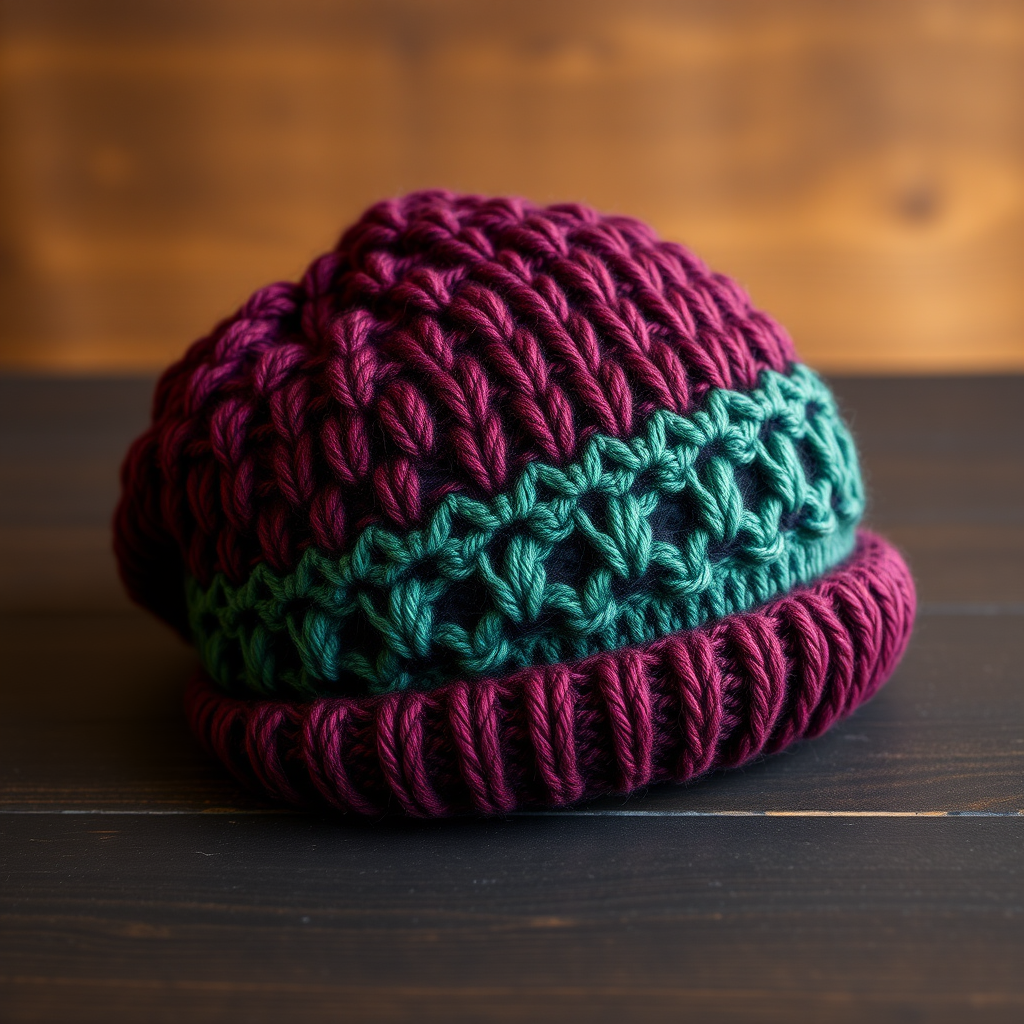
The Whirligig Explorer Hat: A Free Knitting Pattern for a Textured, Reversible Kids' Bucket Hat

Unlock the Magic of Two-in-One Knitting: The Whirligig Explorer Hat Pattern
Are you ready to knit a hat that’s as clever as it is beautiful? The Whirligig Explorer Hat is a free, reversible kids' bucket hat pattern that delivers double the fun. One side showcases a mesmerizing spiral of textured, slipped stitches in a rich teal, while the other reveals a smooth, classic stockinette in a warm mustard. This isn’t just a hat; it’s two distinct looks in one cozy, sun-protecting accessory. Designed for adventurous little ones (toddler to child sizes), this pattern uses chunky worsted-weight yarn to create a dense, bumpy texture that is both playful and modern. Whether you’re a seasoned knitter looking for a quick, satisfying project or a confident beginner ready to try slipped stitches, this pattern will guide you to a stunning, handmade result.
Materials Needed: Your Knitting Toolkit
Before you cast on, gather these essential supplies. Gauge is critical for a perfect fit, so take the time to swatch.
- Yarn: Worsted weight (#4) cotton or cotton-blend yarn in two contrasting colors.
- Color A (Teal in sample): 100g (approx. 200-220 yards)
- Color B (Mustard in sample): 100g (approx. 200-220 yards)
- Needles:
- US 7 (4.5mm) 16-inch circular knitting needle (for the body)
- US 7 (4.5mm) set of double-pointed needles (DPNs) (for the crown)
- Notions:
- Stitch markers (at least 1 for beginning of round, plus optional for increases)
- Tapestry needle for weaving in ends
- Scissors
- Gauge: 20 stitches and 28 rows = 4 inches (10 cm) in stockinette stitch, blocked. Gauge is critical for fit.
Step-by-Step Instructions: Knitting the Whirligig Explorer Hat
Sizes: Toddler (2-4 years) / Child (5-10 years). Finished circumference: 18 (20) inches. Instructions for toddler size are given first; child size in parentheses.
Notes: The hat is worked from the crown down to the brim. The spiral texture is created by alternating a slipped stitch pattern with garter stitch ridges. The hat is fully reversible.
Abbreviations: CO = cast on, K = knit, P = purl, sl1wyib = slip 1 stitch purlwise with yarn in back, sl1wyif = slip 1 stitch purlwise with yarn in front, k2tog = knit 2 together, pm = place marker, sm = slip marker, st(s) = stitch(es), rep = repeat, RS = right side, WS = wrong side.
Part 1: The Crown (Start with Color A)
Using DPNs, CO 8 (10) sts. Divide evenly over 4 needles (2,2,2,2 for toddler; 2,2,3,3 for child). Join in the round, being careful not to twist. Place marker for beginning of round.
- Round 1: K all sts.
- Round 2: *K1, M1L (make 1 left), rep from * around. (16 (20) sts)
- Round 3: K all sts.
- Round 4: *K2, M1L, rep from * around. (24 (30) sts)
- Round 5: K all sts.
- Round 6: *K3, M1L, rep from * around. (32 (40) sts)
Continue increasing in this pattern (knit one more stitch between increases each increase round) until you have 80 (96) sts. You will have worked 10 (12) increase rounds total. Switch to circular needle when stitches allow.
Part 2: The Body (Spiral Texture Pattern)
Work these 8 rounds in sequence. The spiral emerges from the slipped stitches and color changes.
- Round 1 (RS): With Color A, *K1, sl1wyib, rep from * around.
- Round 2: With Color A, *K1, sl1wyif, rep from * around.
- Round 3: With Color B, K all sts.
- Round 4: With Color B, P all sts.
- Round 5: With Color A, *sl1wyib, K1, rep from * around.
- Round 6: With Color A, *sl1wyif, K1, rep from * around.
- Round 7: With Color B, K all sts.
- Round 8: With Color B, P all sts.
Repeat Rounds 1-8 until piece measures 4 (5) inches from crown, ending after a Round 8.
Part 3: The Brim (Worked Flat in Rows)
Note: The brim is worked back and forth to create a wider, floppy bucket hat shape. Do not join rounds.
- Row 1 (RS): With Color A, K all sts.
- Row 2 (WS): With Color A, P all sts.
- Row 3: With Color B, K all sts.
- Row 4: With Color B, P all sts.
- Row 5: With Color A, K all sts.
- Row 6: With Color A, P all sts.
- Row 7: With Color B, K all sts.
- Row 8: With Color B, P all sts.
Repeat Rows 1-8 until brim measures 2 (2.5) inches from the start of the brim.
Part 4: Edging & Finishing
With Color A, bind off all stitches loosely knitwise. Weave in all ends using a tapestry needle. Block gently to shape by wetting the hat and laying it flat to dry, smoothing the brim and crown.
The Reversible Side
The opposite side of the hat (the inside) will show the reverse of the spiral pattern, creating a completely different look with the colors reversed and a smooth stockinette texture. Simply flip it inside out for a whole new hat!