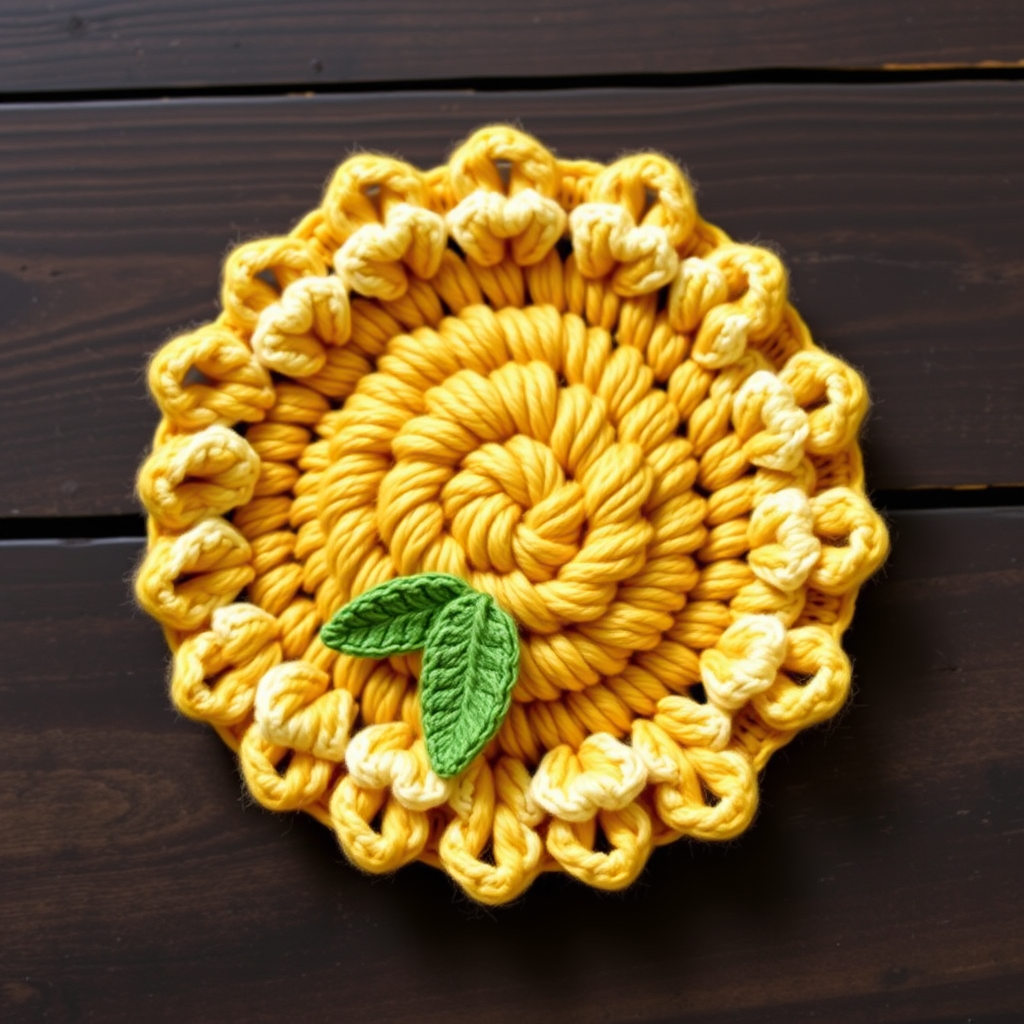
The Swirled Sundae Potholder: A Free Crochet Pattern for a Textured, Retro Kitchen Essential

The Swirled Sundae Potholder: A Free Crochet Pattern for a Textured, Retro Kitchen Essential
Bring a scoop of whimsy to your kitchen with this delightfully textured potholder, designed to look like a towering ice cream cone. The clever spiral construction and thick, heat-resistant yarn make it both a functional tool and a charming conversation starter. Whether you're a seasoned crocheter or a beginner looking for a fun project, this pattern will guide you through creating a retro, playful kitchen accessory that’s as practical as it is adorable.
Materials Needed
To create your Swirled Sundae Potholder, gather the following supplies. All yarn should be 100% cotton worsted weight for heat resistance and durability.
- Yarn: Lily Sugar 'n Cream (or any 100% cotton worsted weight yarn) in:
- 1 skein 'Warm Brown' (for the cone)
- 1 skein 'Strawberry Pink' (for the bottom ice cream scoop)
- 1 skein 'Vanilla' (for the middle ice cream scoop)
- 1 skein 'Chocolate' (for the top ice cream scoop)
- Small amounts of 'Red' (for the cherry)
- Small amounts of 'White' (for the whipped cream)
- Hook: Size G/6 (4.0 mm) crochet hook
- Other: Tapestry needle, polyester fiberfill for stuffing, scissors
- Gauge: 4 sc = 1 inch; 4 rows sc = 1 inch. Gauge is not critical but affects final size. Adjust hook size if needed to achieve a firm fabric.
Step-by-Step Instructions
This pattern creates two identical potholders (one for each hand). Follow each step carefully for a professional finish. The potholder is worked in the round using single crochet stitches, then assembled with whip stitching.
Cone Base (make 2)
The cone forms the sturdy base of your potholder. It’s worked from the tip upward in a spiral.
- Round 1: With Warm Brown yarn, make a magic ring. Chain 1, then work 6 single crochet (sc) into the ring. Pull the tail tight to close the ring. (6 stitches)
- Round 2: Work 2 sc in each stitch around. (12 stitches)
- Round 3: *Sc in next stitch, 2 sc in next stitch* repeat around. (18 stitches)
- Round 4: *Sc in next 2 stitches, 2 sc in next stitch* repeat around. (24 stitches)
- Round 5: *Sc in next 3 stitches, 2 sc in next stitch* repeat around. (30 stitches)
- Round 6: *Sc in next 4 stitches, 2 sc in next stitch* repeat around. (36 stitches)
- Round 7: *Sc in next 5 stitches, 2 sc in next stitch* repeat around. (42 stitches)
- Round 8: *Sc in next 6 stitches, 2 sc in next stitch* repeat around. (48 stitches)
- Rounds 9-12: Sc in each stitch around. (48 stitches each round) Fasten off, leaving a 6-inch tail for sewing. Weave in the starting end.
Ice Cream Scoops (make 6 total: 2 of each color)
Each scoop is a plump sphere. You’ll make two pink, two vanilla, and two chocolate scoops. The instructions are identical for all colors.
- Round 1: With your chosen color (e.g., Strawberry Pink), make a magic ring. Chain 1, then work 6 sc into the ring. Pull tight. (6 stitches)
- Round 2: 2 sc in each stitch around. (12 stitches)
- Round 3: *Sc in next stitch, 2 sc in next stitch* repeat around. (18 stitches)
- Round 4: *Sc in next 2 stitches, 2 sc in next stitch* repeat around. (24 stitches)
- Round 5: *Sc in next 3 stitches, 2 sc in next stitch* repeat around. (30 stitches)
- Round 6: *Sc in next 4 stitches, 2 sc in next stitch* repeat around. (36 stitches)
- Round 7: *Sc in next 5 stitches, 2 sc in next stitch* repeat around. (42 stitches)
- Round 8: *Sc in next 6 stitches, 2 sc in next stitch* repeat around. (48 stitches)
- Rounds 9-12: Sc in each stitch around. (48 stitches each round) Fasten off, leaving a 6-inch tail for sewing. Weave in the starting end.
Repeat for the second scoop using Vanilla, and the third scoop using Chocolate. Then repeat all three scoops for the second potholder.
Assembly of the Potholder
This is where the magic happens. You’ll stack the scoops on the cone, stuffing as you go.
- Attach the first scoop: Place one cone base on a flat surface, right side up. Place one Strawberry Pink scoop on top, aligning the edges. Using a tapestry needle and the Warm Brown yarn tail from the cone, whip stitch the scoop to the cone through both layers. Work around the entire circumference, but leave a 2-inch opening for stuffing. Lightly stuff the scoop with polyester fiberfill, then close the opening with a few more whip stitches. Weave in the end.
- Attach the second scoop: Place the Vanilla scoop on top of the Strawberry scoop, aligning edges. Using the Vanilla yarn tail, whip stitch the Vanilla scoop to the Strawberry scoop, leaving a 2-inch opening. Stuff lightly, then close. Weave in the end.
- Attach the third scoop: Place the Chocolate scoop on top of the Vanilla scoop. Using the Chocolate yarn tail, whip stitch the Chocolate scoop to the Vanilla scoop, leaving a 2-inch opening. Stuff lightly, then close. Weave in the end.
- Repeat for the second potholder: Follow steps 1-3 for the remaining cone and scoops. For a mirror image, you can reverse the order of colors if desired, but the pattern as written creates two identical potholders.
Cherry and Whipped Cream
These decorative elements add the final touch. Make two of each for both potholders.
- Cherry (make 2): With Red yarn, make a magic ring. Chain 1, work 6 sc into the ring. Pull tight. (6 stitches) Work 1 more round of sc in each stitch. Fasten off, leaving a 6-inch tail. Using the tail, sew the cherry to the top center of the Chocolate scoop. Weave in the end.
- Whipped Cream (make 2): With White yarn, chain 6. Sc in the 2nd chain from the hook and across. (5 stitches) Turn, chain 1, sc in each stitch. Repeat this row until the piece measures 4 inches long. Fasten off, leaving a 6-inch tail. Roll the rectangle into a tight spiral (like a cinnamon roll) and sew it to the top of the potholder, encircling the cherry. Weave in the end.
Hanging Loop
Add a loop to the back of the cone for easy hanging.
- With Warm Brown yarn, chain 15. Slip stitch to the first chain to form a loop. Attach the loop to the back of the cone base by sewing the ends securely with a tapestry needle. Weave in all ends.
Finishing
Weave in all remaining ends with a tapestry needle. If desired, block the potholders gently by spritzing with water and shaping them flat. Allow to dry completely. Your Swirled Sundae Potholders are now ready to add a retro, playful touch to your kitchen!