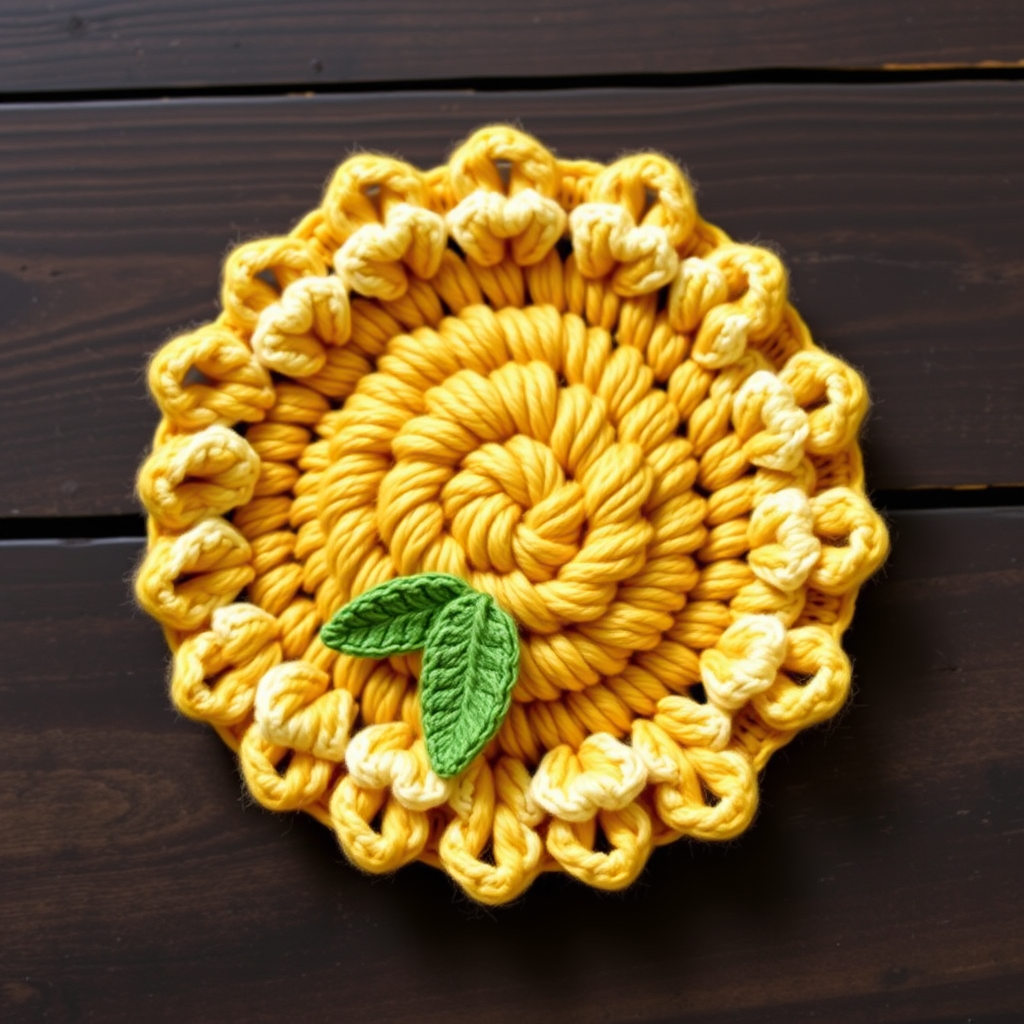
The Solaris Bloom Wall Art Free Pattern – Crochet a Radiant 3D Flower Mandala

The Solaris Bloom Wall Art Free Pattern – Crochet a Radiant 3D Flower Mandala
Transform your wall into a sunlit garden with this stunning crochet flower mandala, featuring layered petals and a textured center that catches the light. This free pattern is perfect for adding a handcrafted, bohemian touch to any room. The Solaris Bloom is a vibrant, three-dimensional wall hanging that brings warmth and artisanal charm to your living space. Whether you're a seasoned crocheter or a confident beginner looking for a rewarding project, this pattern offers a delightful journey into textured yarn art.
This piece is worked in continuous rounds, creating a dense, rich fabric that holds its shape beautifully. The layered construction—from the tightly crocheted cream center to the overlapping terracotta, mustard, and burnt orange petals, finished with sage green leaves—creates a stunning sunset-inspired palette. The result is a flat, circular mandala approximately 25 cm (10 inches) in diameter, perfect for a cozy nook, above a bed, or in a gallery wall arrangement.
Materials Needed
Before you begin, gather the following materials. Using the specified yarn weight and hook size is essential to achieve the correct gauge and the beautiful, dense texture of the final piece.
- Yarn: Worsted weight cotton yarn in sunset tones:
- Terracotta (for the first petal layer)
- Mustard Yellow (for the second petal layer)
- Burnt Orange (for the third petal layer)
- Cream (for the center)
- Sage Green (for the outer leaves)
- Crochet Hook: 5.0 mm (H-8) crochet hook
- Stitch Markers (to keep track of rounds)
- Yarn Needle (for weaving in ends)
- Scissors
- Optional: Small wooden ring or extra yarn for a hanging loop
Gauge: First 3 rounds measure 5 cm (2 inches) in diameter. This gauge is crucial for ensuring your mandala reaches the correct size and the petals align properly. If your gauge is off, adjust your hook size accordingly.
Step-by-Step Instructions
This pattern is worked in continuous rounds unless otherwise stated. Use a stitch marker to keep track of your rounds, as this will help you maintain your place and ensure accurate stitch counts.
Center (Cream Yarn)
Begin with the tightly crocheted center, which forms the heart of your mandala.
Round 1: Make a magic ring, work 6 single crochet (sc) into the ring. Pull tight to close. (6 sts)
Round 2: Work 2 sc in each stitch around. (12 sts)
Round 3: *Sc in next st, 2 sc in next st* repeat around. (18 sts)
Round 4: *Sc in next 2 sts, 2 sc in next st* repeat around. (24 sts)
Round 5: *Sc in next 3 sts, 2 sc in next st* repeat around. (30 sts)
Round 6: *Sc in next 4 sts, 2 sc in next st* repeat around. (36 sts)
Fasten off and weave in ends securely.
First Petal Layer (Terracotta)
This layer creates the largest, outermost petals. Attach terracotta yarn to any stitch of Round 6.
Round 7: Chain 3 (counts as first double crochet), work 2 double crochet (dc) in same stitch, chain 2, skip next 2 sts, *3 dc in next st, chain 2, skip next 2 sts* repeat around, join with slip stitch to top of chain 3. (12 petal bases)
Round 8: Slip stitch into the chain-2 space, chain 3, work 6 dc in same space, chain 1, *7 dc in next chain-2 space, chain 1* repeat around, join with slip stitch to top of chain 3. (12 large petals)
Fasten off and weave in ends.
Second Petal Layer (Mustard Yellow)
This layer sits behind the first, creating depth. Attach mustard yarn to the back of Round 7, working behind the first petal layer. This means you will be working into the skipped stitches from Round 7, which are now visible from the back.
Round 9: Chain 3, work 2 dc in the same stitch (the skipped stitch from Round 7), chain 2, skip next 2 sts, *3 dc in next st, chain 2, skip next 2 sts* repeat around, join with slip stitch. (12 petal bases)
Round 10: Slip stitch into chain-2 space, chain 3, work 5 dc in same space, chain 1, *6 dc in next chain-2 space, chain 1* repeat around, join. (12 medium petals)
Fasten off and weave in ends.
Third Petal Layer (Burnt Orange)
This layer is the smallest of the flower petals, adding a rich, warm tone. Attach burnt orange yarn to the back of Round 9, working behind the second petal layer, into the skipped stitches from Round 9.
Round 11: Chain 3, work 2 dc in the same stitch, chain 2, skip next 2 sts, *3 dc in next st, chain 2, skip next 2 sts* repeat around, join. (12 petal bases)
Round 12: Slip stitch into chain-2 space, chain 3, work 4 dc in same space, chain 1, *5 dc in next chain-2 space, chain 1* repeat around, join. (12 small petals)
Fasten off and weave in ends.
Outer Leaves (Sage Green)
The final layer adds a fresh, organic touch. Attach sage green yarn to any stitch of Round 11, working behind the third petal layer.
Round 13: Chain 4, work 3 treble crochet (tr) in the same stitch, chain 2, skip next 2 sts, *4 tr in next st, chain 2, skip next 2 sts* repeat around, join with slip stitch to top of chain 4. (12 leaf bases)
Round 14: Slip stitch into chain-2 space, chain 3, work 5 dc in same space, chain 2, *6 dc in next chain-2 space, chain 2* repeat around, join. (12 leaves)
Fasten off and weave in ends.
Finishing
Now that all layers are complete, it's time to finish your masterpiece.
- Weave in all loose ends using your yarn needle. Be sure to weave them in securely so they don't come undone over time.
- Block the piece by pinning it to a flat surface (like a blocking mat or a towel) and steaming gently to set the shape. This step is crucial for achieving a perfectly flat, professional-looking mandala. Allow it to dry completely before removing the pins.
- Attach a hanging loop to the back using a length of yarn or a small wooden ring. Simply thread a piece of yarn through the back of the mandala, tie it securely, and create a loop for hanging. If using a wooden ring, sew it to the back using a needle and thread.
Your Solaris Bloom Wall Art is now ready to grace your wall! The rich, textured layers and warm sunset colors will bring a cozy, handcrafted elegance to any room. Enjoy your beautiful creation, and don't forget to share your work with fellow crochet enthusiasts!