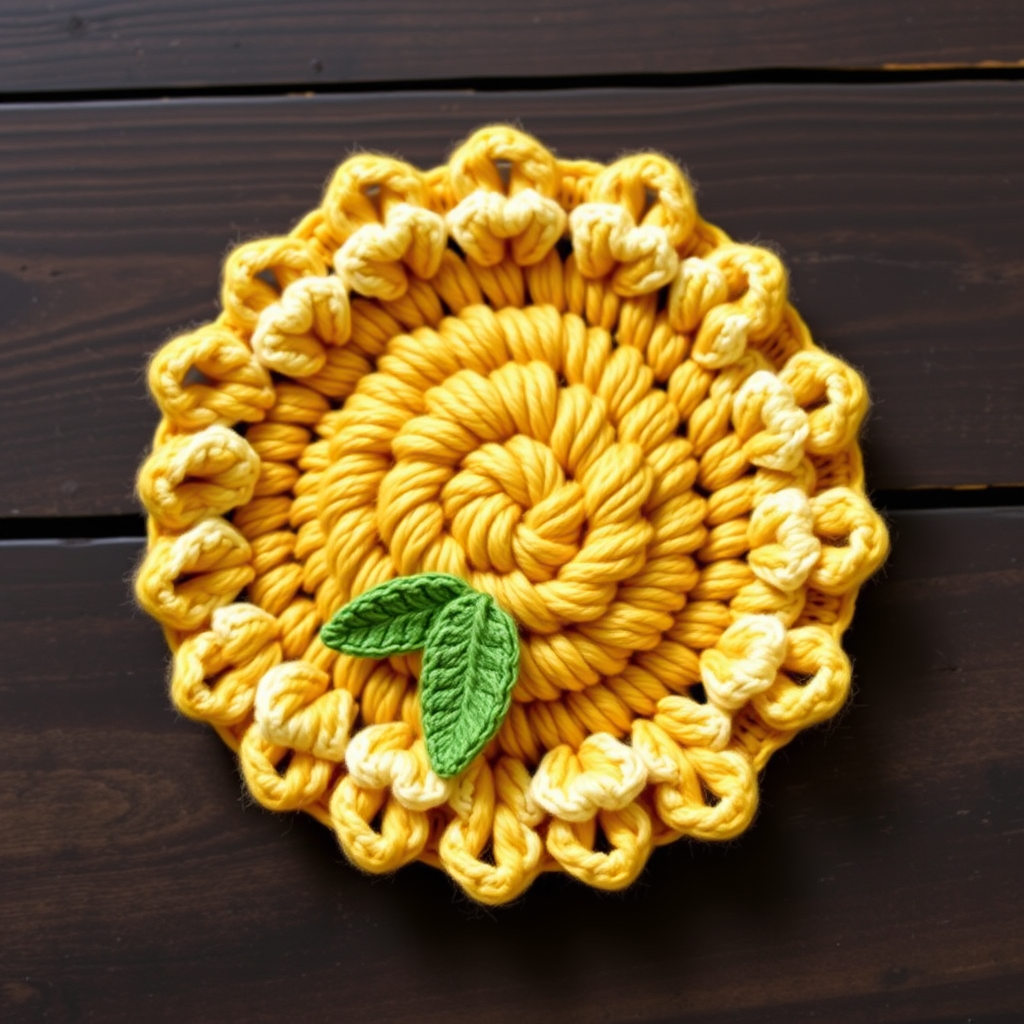
Sun-Kissed Meadow Wall Hanging Free Pattern – A Crocheted Wildflower Tapestry

Bring the Outdoors In: Crafting the Sun-Kissed Meadow Wall Hanging
Imagine a sun-drenched field of wildflowers, captured in yarn and hung on your wall. That's the magic of the Sun-Kissed Meadow Wall Hanging. This free crochet pattern is a delightful project for anyone looking to add a touch of bohemian warmth to their home. With its rich, textured base panel and dimensional, handcrafted flowers, this tapestry is more than just decor—it's a statement piece that brings a cozy, artisanal feel to any room. Whether you're a seasoned crocheter or a confident beginner ready for a new challenge, this pattern is designed to guide you through creating a stunning piece of textile art. Let's gather our supplies and start crafting our own slice of a summer meadow.
Materials Needed: Your Crochet Toolkit
Before we dive into the stitches, let's ensure you have everything you need. This project relies on a simple palette of earthy, warm colors to create its sunlit aesthetic. Here’s your shopping list:
- Yarn: Worsted weight cotton yarn in the following colors:
- Cream (for the base panel)
- Mustard Yellow (for flower centers)
- Burnt Orange (for large flower petals)
- Dusty Rose (for small blooms)
- Sage Green (for leaf clusters)
- Chocolate Brown (optional, for added detail or hanging loop)
- Crochet Hook: 5.5 mm (US I-9) hook
- Tapestry Needle: For weaving in ends and sewing motifs onto the base.
- Scissors: For cutting yarn.
- Optional: A wooden dowel or branch for hanging, and a steam iron for blocking.
Gauge: 4 inches = 14 stitches and 12 rows in single crochet. While gauge isn't critical for a wall hanging, it helps ensure your piece is the intended size (approximately 12" x 18").
Step-by-Step Instructions: Creating Your Tapestry
This project is worked in two main parts: the textured base panel and the individual wildflower motifs. We'll start with the foundation, then create the flowers, and finally assemble our masterpiece.
Part 1: Crocheting the Textured Base Panel
The base panel uses a combination of single crochet, puff stitches, and front post double crochets to create a rich, woven-like texture. Follow these rows carefully.
Foundation Row: With your cream yarn, chain 41. Single crochet (sc) in the 2nd chain from your hook and in each chain across. You should have 40 single crochet stitches. (40 sc)
Row 2: Chain 1 (ch 1), turn. Single crochet in each stitch across. (40 sc)
Row 3 (Puff Stitch Row): Ch 1, turn. *Work a puff stitch in the next stitch (see special stitch instructions below), then single crochet in the next 3 stitches.* Repeat from * to * across, ending with a puff stitch in the last stitch. (You will have 10 puff stitches).
Special Stitch - Puff Stitch: Yarn over (yo), insert your hook into the stitch, yarn over and pull up a loop (you now have 3 loops on your hook). Repeat this process 3 more times in the same stitch (you will have 9 loops on your hook). Yarn over and pull through all 9 loops on your hook. Chain 1 to close the puff stitch securely.
Row 4: Ch 1, turn. Single crochet in each stitch across. (40 sc)
Row 5: Ch 1, turn. Single crochet in each stitch across. (40 sc)
Rows 6-7: Repeat Rows 3 and 4. This will create your second band of puff stitches.
Rows 8-9: Repeat Rows 3 and 4 again for your third band of puff stitches.
Row 10: Ch 1, turn. Single crochet in each stitch across. (40 sc)
Row 11 (Front Post Double Crochet Row): Ch 1, turn. *Work a front post double crochet (fpdc) around the post of the next stitch, then single crochet in the next 3 stitches.* Repeat from * to * across. (You will have 10 fpdc).
Special Stitch - Front Post Double Crochet (fpdc): Yarn over, insert your hook from front to back to front around the vertical post of the stitch in the row below (not through the top loops). Yarn over and pull up a loop (3 loops on hook). Yarn over and pull through 2 loops (2 loops on hook). Yarn over and pull through the remaining 2 loops. This creates a raised, braided effect.
Row 12: Ch 1, turn. Single crochet in each stitch across. (40 sc)
Rows 13-14: Repeat Rows 11 and 12 for your second band of front post stitches.
Rows 15-16: Repeat Rows 11 and 12 for your third band of front post stitches.
Row 17: Ch 1, turn. Single crochet in each stitch across. (40 sc)
Fasten off and weave in your ends securely. Your textured base panel is complete!
Part 2: Crafting the Wildflower Motifs
Now for the fun part—creating the dimensional flowers and leaves. You will make a total of 7 motifs: 2 Large Sunburst Flowers, 2 Dusty Rose Blooms, and 3 Sage Green Leaf Clusters.
Large Sunburst Flower (Make 2)
Round 1: With mustard yellow yarn, create a magic ring. Work 6 single crochet (sc) into the ring. Pull the tail to tighten the ring closed. (6 sc)
Round 2: Work 2 single crochet in each stitch around. (12 sc). Fasten off mustard yellow.
Round 3 (Petals): Attach burnt orange yarn to any stitch. *Chain 4. Slip stitch in the 2nd chain from your hook, single crochet in the next chain, half double crochet (hdc) in the next chain. Skip 1 stitch on the base, then slip stitch in the next stitch.* Repeat from * to * around to form 6 petals. Fasten off and weave in ends.
Dusty Rose Bloom (Make 2)
Round 1: With dusty rose yarn, create a magic ring. Work 8 single crochet (sc) into the ring. Pull tight. (8 sc)
Round 2 (Petals): *Chain 3. Slip stitch in the 2nd chain from your hook, single crochet in the next chain. Skip 1 stitch on the base, then slip stitch in the next stitch.* Repeat from * to * around to form 4 petals. Fasten off and weave in ends.
Sage Green Leaf Cluster (Make 3)
Round 1: With sage green yarn, create a magic ring. Work 6 single crochet (sc) into the ring. (6 sc)
Round 2 (Leaves): *Chain 5. Slip stitch in the 2nd chain from your hook, single crochet in the next chain, half double crochet in the next 2 chains. Slip stitch in the next stitch on the base.* Repeat from * to * around to form 3 leaves. Fasten off and weave in ends.
Part 3: Assembling Your Wall Hanging
With all your pieces ready, it's time to bring your meadow to life.
- Arrange Your Motifs: Lay your base panel flat. Arrange the 7 motifs (2 large sunbursts, 2 dusty rose blooms, 3 leaf clusters) on the panel in a loose, organic cluster. Slightly overlap the flowers and leaves to create depth and a natural, wildflower look. Play with the arrangement until you're happy with the composition.
- Sew the Motifs: Using your tapestry needle and a matching color of yarn (or cream yarn for a subtle effect), sew each motif securely onto the base panel. Use small, discreet stitches around the edges of each flower and leaf to attach them firmly.
- Create a Hanging Loop: Cut a 12-inch piece of cream yarn. Fold it in half to create a loop. Using your tapestry needle, sew the two loose ends securely to the top back corners of the panel. This will create a sturdy loop for hanging.
- Optional Hanging Method: For a more rustic look, you can slide a wooden dowel or a straight branch through the top edge of the panel (between stitches) instead of using a yarn loop.
- Final Touches: Trim any loose ends. To give your wall hanging a polished, professional look, gently steam block the panel. Pin it to a flat surface and lightly steam it to flatten the edges and even out the stitches. Allow it to dry completely before hanging.
And there you have it—your very own Sun-Kissed Meadow Wall Hanging! This textured tapestry is a beautiful way to add a handmade, bohemian touch to your space. The combination of the chunky base and the delicate, dimensional flowers creates a piece that's both visually striking and deeply satisfying to create. Enjoy your new handcrafted decor, and happy crocheting!