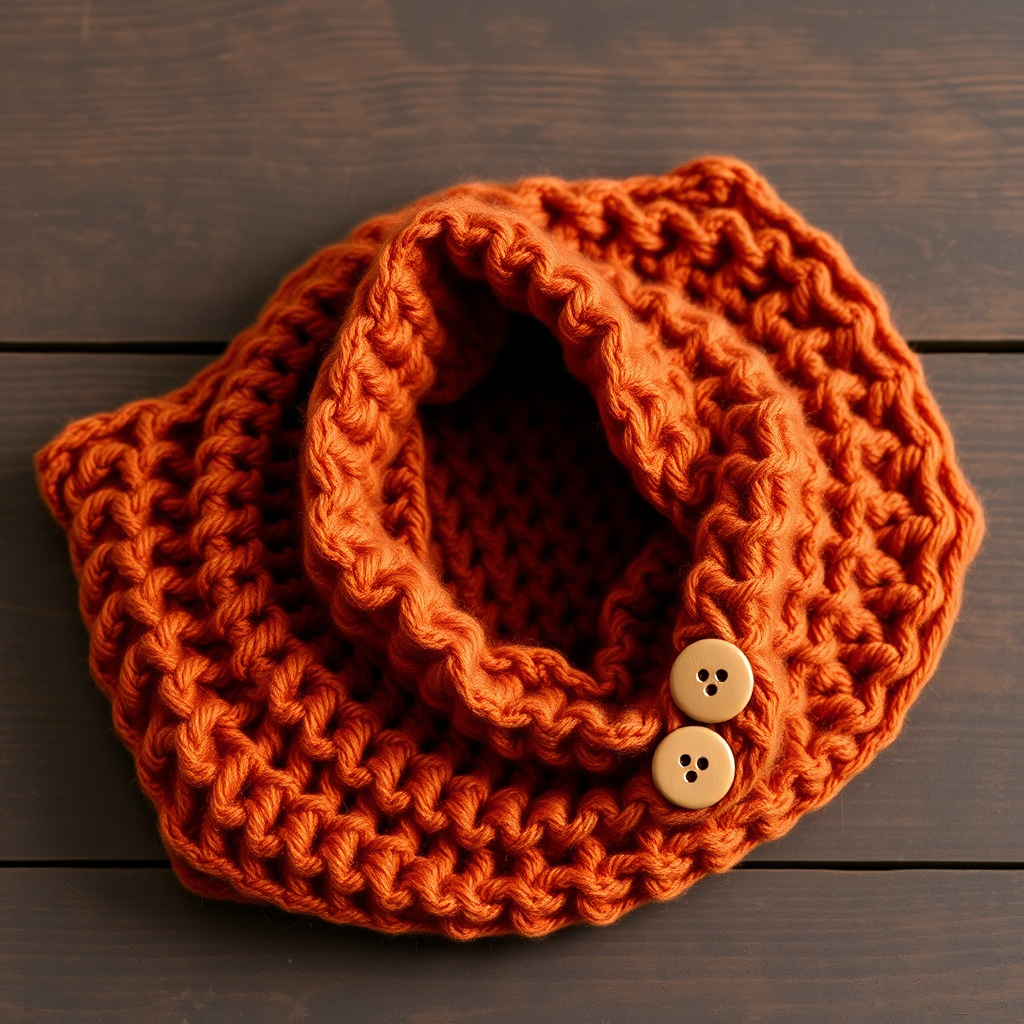
Prismatica Dragon Scale Bandana Cowl Free Pattern

Wrap Yourself in Magic: The Prismatica Dragon Scale Bandana Cowl
Imagine wrapping yourself in the iridescent shimmer of a thousand tiny scales, each one catching the light like a fragment of stained glass. That’s the magic of the Prismatica Dragon Scale Bandana Cowl—a mesmerizing crochet project that combines the elegant drape of a bandana with the rich, textured allure of dragon scales. Whether you’re a seasoned crocheter looking for a new challenge or a brave beginner ready to learn a stunning new stitch, this free pattern will guide you through creating a wearable work of art. The unique shape drapes beautifully over your shoulders, and the bold color transitions—from deep teal to vibrant purple, golden yellow, and crimson red—create a truly iridescent effect that will turn heads.
This pattern is perfect for those crisp autumn evenings or as a statement piece for a winter gathering. The raised scale stitch is surprisingly simple once you get the hang of it, and the repetitive rhythm makes it a relaxing, meditative project. Let’s dive in and create something truly spectacular.
Materials Needed
Before you begin your crochet journey, gather these essential supplies. Having everything ready will make the process smooth and enjoyable.
- Yarn: Worsted weight yarn in 4 colors. You will need approximately 300g total. Here’s the breakdown:
- Color A (Deep Teal): Approx 75g
- Color B (Vibrant Purple): Approx 75g
- Color C (Golden Yellow): Approx 75g
- Color D (Crimson Red): Approx 75g (used for the main body and edging)
- Crochet Hook: 5.5mm (I-9) crochet hook. This size is perfect for worsted weight yarn to achieve the correct gauge and drape.
- Other Tools: Yarn needle for weaving in ends, scissors, and a tape measure to check your gauge.
Gauge: 4 scales x 4 rows = 4 inches (10 cm) in scale stitch pattern. Always check your gauge to ensure your cowl turns out the right size. If your gauge is off, adjust your hook size accordingly.
Step-by-Step Instructions
Follow these detailed instructions carefully. The pattern is broken down into manageable sections, from the foundation to the finishing touches. Take your time, and don't be afraid to refer back to the special stitch definition.
Special Stitches
This pattern uses one special stitch that creates the beautiful scale effect. Master this, and you've mastered the cowl!
Scale Stitch (ScSt): Work 1 double crochet (dc) in the next stitch. Then, work 4 more double crochets around the post of that same double crochet you just made (2 in the front, 2 in the back). This creates a raised, oval "scale" that pops out from the fabric.
Foundation and Main Pattern
Let's start building the base of your cowl.
Foundation Row: Chain 30.
Row 1: Dc in the 4th chain from the hook and in each chain across. Turn. (You should have 28 dc stitches).
Row 2 (Right Side): Chain 3 (this counts as your first dc), skip the next stitch, work a Scale Stitch (ScSt) in the next stitch. *Skip the next stitch, work a ScSt in the next stitch; repeat from * across until you have 2 stitches left. Dc in the last stitch. Turn. (You will have 14 scales).
Row 3: Chain 3, then dc in each stitch across. This means you will work 1 dc in the top of each scale and 1 dc in each of the skipped stitches from the row below. Turn. (You will have 28 dc).
Row 4: Repeat Row 2, but this time, work your Scale Stitches in the spaces between the scales of the previous row. This offsets the scales, creating the staggered, overlapping dragon-skin effect. Turn.
Row 5: Repeat Row 3.
Color Changes and Repeating the Pattern
Now that you have the basic pattern, it's time to add the color magic.
Repeat Rows 2-5 for the pattern, changing colors every 2 rows. Here's the color sequence:
- Work Rows 2 and 3 in Color A (Deep Teal).
- Work Rows 4 and 5 in Color B (Vibrant Purple).
- Continue this rhythm, alternating colors every two rows (Color C, then Color D, then back to Color A, etc.).
Continue this pattern until your piece measures 20 inches from the foundation edge. Tip: When changing colors, do so in the last yarn-over of the final stitch of the row to ensure a clean, seamless transition. End with a Row 3 (a plain dc row).
Shaping for the Bandana (Decrease Section)
This is where the cowl transforms into its unique bandana shape. We will be decreasing stitches at the beginning and end of rows to create the triangle point.
Next Row (Decrease Row 1): Chain 2, work a dc2tog (double crochet 2 together) over the next two stitches. Work in the pattern (ScSt in the next stitch, skip the next stitch) across until you have 3 stitches left. Work a dc2tog over the next two stitches, then dc in the last stitch. Turn. (You have decreased 2 stitches).
Next Row: Chain 2, work a dc2tog over the next two stitches. Work even in double crochet across until you have 2 stitches left. Work a dc2tog over the last two stitches. Turn. (You have decreased 2 stitches).
Repeat these two decrease rows alternately (Decrease Row 1, then the even decrease row) until only 6 stitches remain. Fasten off and weave in your ends.
Edging and Finishing Touches
The final steps will give your cowl a polished, professional look.
Edging: Attach Color D (Crimson Red) to the bottom point of the bandana. Work 1 single crochet (sc) in each dc along the diagonal edge. When you reach the corner, work 3 sc in the corner stitch. Then, sc evenly along the top edge. Work 3 sc in the other corner, and sc down the other diagonal edge. Join with a slip stitch to the first sc. Fasten off and weave in the end.
Ties: Cut 6 strands of yarn (you can use a mix of colors or all of Color D), each 24 inches long. Group them together, fold them in half to create a loop. Pull the loop through the corner of the top edge of the cowl. Pull the ends of the yarn through the loop and tighten to create a fringe/tie. Repeat this for the other corner. If you prefer, you can braid or twist the ties for a more polished look.
And there you have it—your very own Prismatica Dragon Scale Bandana Cowl! The combination of the textured scales and the vibrant color transitions creates a stunning, iridescent effect that's sure to become a favorite in your wardrobe. This project is a fantastic way to practice a new stitch and create a truly unique, handmade garment. Happy crocheting!