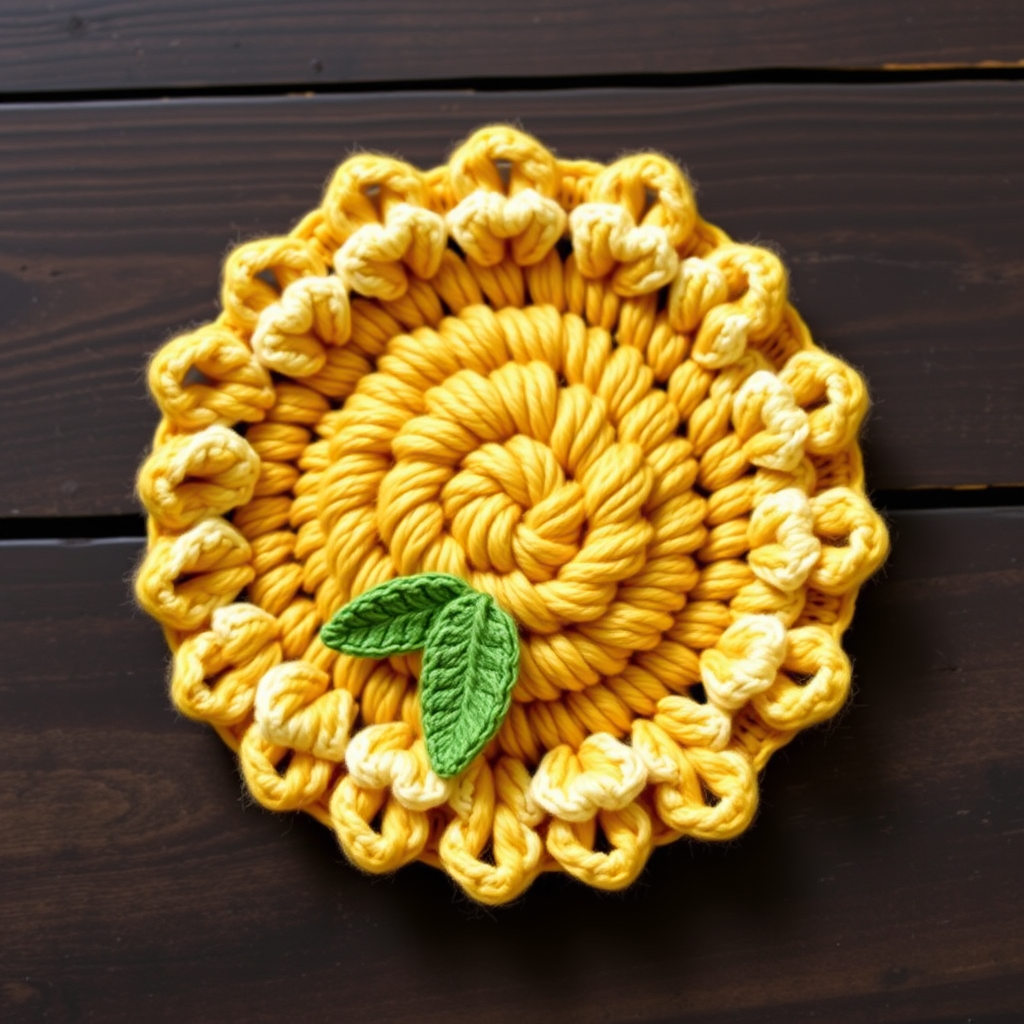
Emberfall Woven Wall Basket Free Pattern – A Crocheted Sunset Tapestry

Emberfall Woven Wall Basket Free Pattern – A Crocheted Sunset Tapestry
Bring the warmth of a fading sunset into your home with this richly textured, woven wall basket that combines rustic charm with modern boho flair. Crafted entirely in soft, chunky yarn, it's a stunning statement piece that's as enjoyable to make as it is to display. This free crochet pattern is perfect for intermediate beginners looking to expand their skills with a unique overlay technique that creates a gorgeous woven sunset effect.
This wall basket features a solid circular back panel and a rectangular front panel that is gathered and woven with horizontal strips of contrasting yarn, creating a textured, tapestry-like pocket. The finished piece measures approximately 12 inches in diameter, making it the perfect size for holding small treasures, dried flowers, or simply standing alone as a work of art.
Materials Needed
Before you begin your crochet journey, gather the following materials:
Yarn
Lion Brand Wool-Ease Thick & Quick (super bulky weight, 6) in the following colors:
- Color A: 'Sunset Gold' – 1 skein
- Color B: 'Crimson' – 1 skein
- Color C: 'Burnt Orange' – 1 skein
- Color D: 'Umber' – 1 skein
- Color E: 'Cream' – 1 skein
Tools
- 9.0 mm (M/N) crochet hook
- Yarn needle for weaving in ends and sewing pieces together
- Stitch markers to keep track of your rounds
- Scissors
- Cardboard or plastic canvas (optional, for bottom support)
Gauge
8 single crochet stitches x 9 rows = 4 inches (10 cm) in single crochet with two strands held together. Note: This pattern is worked with a single strand of super bulky yarn, so gauge is provided for reference only. The exact gauge is not critical for this project.
Step-by-Step Instructions
This wall basket is worked in continuous spirals from the center outward, using a unique overlay technique to create a woven sunset effect. The back is a solid circle, and the front features a woven pattern of horizontal and vertical stripes.
Abbreviations
- ch = chain
- sc = single crochet
- hdc = half double crochet
- dc = double crochet
- sl st = slip stitch
- st(s) = stitch(es)
- rnd(s) = round(s)
- sk = skip
- sp = space
Special Stitch – Woven Overlay
To create the woven look, you will work the front panel separately and then attach it to the back panel with a decorative border. The weaving technique involves threading horizontal strips of yarn through the vertical rows of the front panel, creating a beautiful checkerboard-like texture.
BACK PANEL (Solid Circle)
Work this panel in continuous spirals, using a stitch marker to mark the beginning of each round. Do not join with a slip stitch unless instructed.
Rnd 1: With color A, make a magic ring, ch 1, work 8 sc into the ring. Pull tight to close. (8 sts)
Rnd 2: Work 2 sc in each st around. (16 sts)
Rnd 3: *2 sc in next st, sc in next st* repeat around. (24 sts)
Rnd 4: *2 sc in next st, sc in next 2 sts* repeat around. (32 sts)
Rnd 5: *2 sc in next st, sc in next 3 sts* repeat around. (40 sts)
Rnd 6: *2 sc in next st, sc in next 4 sts* repeat around. (48 sts)
Rnd 7: *2 sc in next st, sc in next 5 sts* repeat around. (56 sts)
Rnd 8: *2 sc in next st, sc in next 6 sts* repeat around. (64 sts)
Rnd 9: *2 sc in next st, sc in next 7 sts* repeat around. (72 sts)
Rnd 10: *2 sc in next st, sc in next 8 sts* repeat around. (80 sts)
Rnd 11: *2 sc in next st, sc in next 9 sts* repeat around. (88 sts)
Rnd 12: *2 sc in next st, sc in next 10 sts* repeat around. (96 sts)
Fasten off, weave in ends securely.
FRONT PANEL (Woven Sunset)
This panel is worked in rows to create a rectangular shape that will be gathered and attached to the back circle. The color changes create vertical stripes that will later be woven with horizontal strips.
Row 1: With color B, ch 25, sc in 2nd ch from hook and across. (24 sts)
Row 2: Ch 1, turn, sc in each st across. (24 sts)
Row 3: Ch 1, turn, with color C, sc in each st across. (24 sts)
Row 4: Ch 1, turn, with color C, sc in each st across. (24 sts)
Row 5: Ch 1, turn, with color D, sc in each st across. (24 sts)
Row 6: Ch 1, turn, with color D, sc in each st across. (24 sts)
Row 7: Ch 1, turn, with color E, sc in each st across. (24 sts)
Row 8: Ch 1, turn, with color E, sc in each st across. (24 sts)
Row 9: Ch 1, turn, with color D, sc in each st across. (24 sts)
Row 10: Ch 1, turn, with color D, sc in each st across. (24 sts)
Row 11: Ch 1, turn, with color C, sc in each st across. (24 sts)
Row 12: Ch 1, turn, with color C, sc in each st across. (24 sts)
Row 13: Ch 1, turn, with color B, sc in each st across. (24 sts)
Row 14: Ch 1, turn, with color B, sc in each st across. (24 sts)
Fasten off, leaving a long tail (at least 24 inches) for sewing the front panel to the back circle.
WOVEN OVERLAY (Creating the Weave)
Now comes the fun part – creating the woven tapestry effect that makes this basket so unique!
Step 1: Cut 6 strips of yarn, each about 20 inches long, alternating colors in this order: B, C, D, E, D, C.
Step 2: Thread one strip onto your yarn needle. Starting from the bottom of the front panel, weave the strip horizontally through the vertical rows. Go over the first vertical stripe, under the second, over the third, and continue this pattern across the entire width of the panel.
Step 3: Repeat with the remaining strips, working your way up the panel. Space the strips approximately 1.5 inches apart for an even weave. The strips should be woven snugly but not so tight that they pucker the fabric.
Step 4: Once all strips are woven, gently pull the ends to gather the front panel slightly, creating a ruched, textured effect. The panel should now measure about 8 inches wide and 10 inches tall.
Step 5: Secure the ends of the woven strips by tying them in small knots on the back side of the panel, or weave them in with your yarn needle.
ATTACHING FRONT TO BACK
Now it's time to bring your basket together!
Step 1: Place the front panel over the center of the back circle, with the woven side facing out. The bottom of the front panel should align with the bottom of the circle.
Step 2: Using the long tail from the front panel, thread it onto your yarn needle.
Step 3: Whip stitch the front panel to the back circle, working around the perimeter. Insert your needle through both layers, going from back to front, then wrapping the yarn over the edge and back through. Continue this pattern around the entire perimeter of the front panel.
Step 4: Leave the top edge open to create a pocket. This is where you can store small items or dried flowers.
Step 5: When you reach the starting point, secure the yarn with a few small stitches and weave in the end.
BORDER AND HANGING LOOP
Finish your basket with a beautiful chunky border and a functional hanging loop.
Rnd 1: With color A, join yarn to the top edge of the front panel using a slip stitch. Ch 1, work sc evenly around the entire top edge of the pocket, then continue around the back circle to create a finished border. Sl st to first sc to join.
Rnd 2: Ch 1, sc in each st around, but at the top center, ch 15 to create a hanging loop, skip 15 sts, sc in next st, continue around. Sl st to join.
Fasten off, weave in all ends securely.
FINISHING
Your Emberfall Woven Wall Basket is almost complete! Follow these final steps for a professional finish:
Step 1: Gently steam block the basket to shape it. Hold a steam iron about 2 inches above the surface and steam evenly, then allow it to dry completely.
Step 2: Insert a small piece of cardboard or plastic canvas at the bottom to help it hold its shape if desired. Cut it to fit the circular base of the basket.
Step 3: Hang on a wall hook or door knob using the loop you created. Fill the pocket with dried flowers, small treasures, or leave it empty to showcase the beautiful woven texture.
Tips for Success
- Keep your tension consistent: This is key to creating a professional-looking basket. Try to maintain the same tightness throughout all your stitches.
- Use stitch markers: They're invaluable for keeping track of your rounds, especially when working in continuous spirals.
- Don't rush the weaving: Take your time with the woven overlay – it's what makes this basket truly special.
- Blocking matters: Steam blocking will help your basket hold its shape and look polished.
This Emberfall Woven Wall Basket is more than just a crochet project – it's a piece of art that brings the warmth of a sunset into your home. The combination of chunky yarn, rich colors, and the unique woven texture creates a stunning statement piece that will be admired by all who see it. Whether you're an experienced crocheter or an ambitious beginner, this pattern offers a rewarding challenge with beautiful results.
Display your finished basket proudly, or gift it to someone special who appreciates handmade beauty. Happy crocheting!