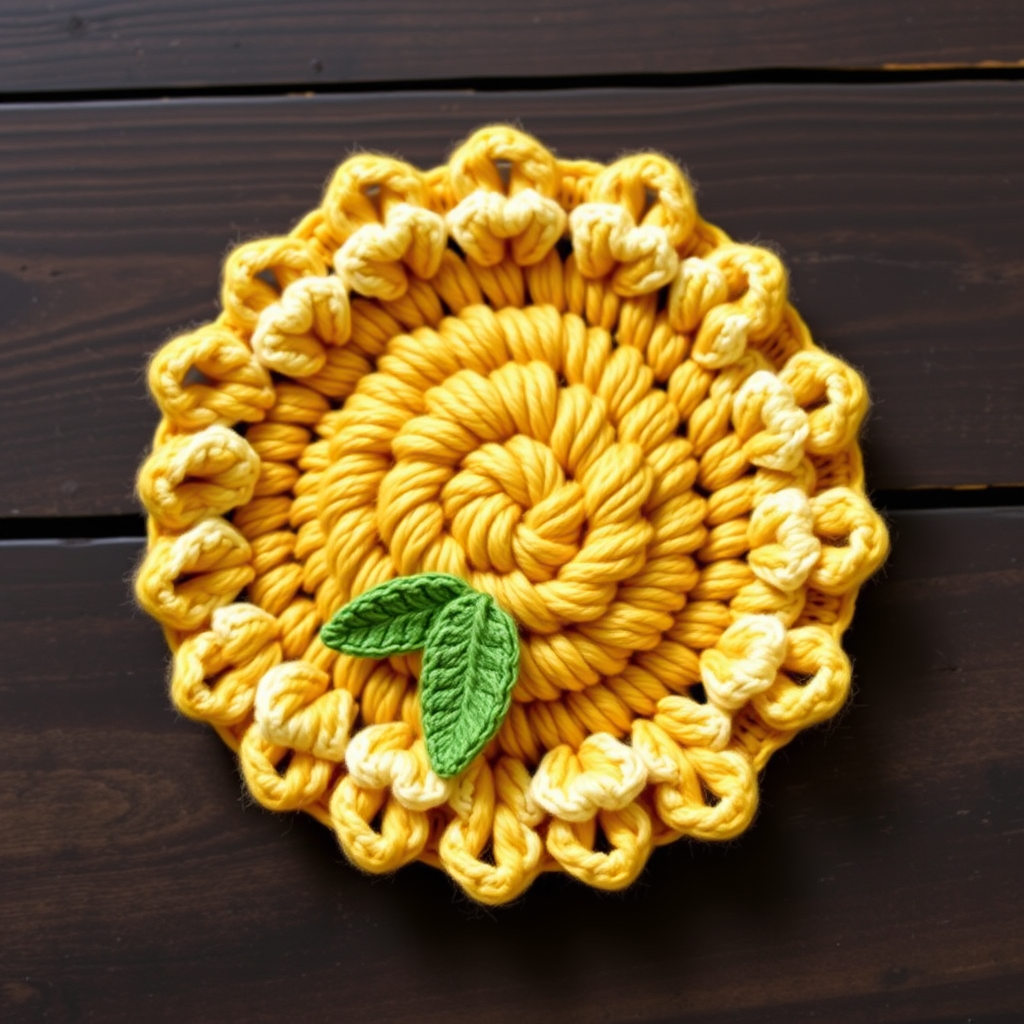
Aurora Dune Throw Pillow Free Crochet Pattern – Waffle Stitch Desert Bloom

Aurora Dune Throw Pillow: A Beginner-Friendly Waffle Stitch Crochet Project
Bring the serene beauty of desert dunes at twilight into your living space with this plush waffle stitch pillow. The textured squares and warm gradient hues create a cozy, modern accent piece that will elevate any room. This free crochet pattern is perfect for beginners who want to master the waffle stitch while creating a stunning home decor item. The honeycomb-like texture and warm desert-inspired color palette—from soft sand to rich terracotta—will add a handcrafted, dimensional look to your sofa or bed.
This pillow is composed of nine individual waffle stitch squares, each worked in a different color combination, then seamed together and finished with a simple border. The result is a beautiful ombre effect that transitions gently from one color to the next, creating a subtle gradient across the entire pillow. Whether you're a seasoned crocheter or just starting your crafting journey, this pattern is designed to be accessible, rewarding, and thoroughly enjoyable.
Materials Needed
Before you begin, gather the following materials to ensure a smooth and enjoyable crochet experience:
- Yarn: Worsted weight cotton or cotton blend yarn in 5 colors:
- Sand (A) – approximately 50g
- Terracotta (B) – approximately 50g
- Dusty Rose (C) – approximately 50g
- Sage (D) – approximately 50g
- Cream (E) – approximately 50g
- Crochet Hook: 5.5 mm crochet hook (US I-9)
- Tapestry Needle: For weaving in ends and seaming squares together
- Scissors: For cutting yarn
- Pillow Form: 16-inch square pillow insert (optional, for finishing)
- Buttons or Zipper: Optional, for a removable cover closure
Gauge: 4 waffle stitch repeats (16 sts) x 12 rows = 4 inches square. Be sure to check your gauge before starting to ensure your pillow squares come out the correct size.
Step-by-Step Instructions
This pillow is made from 9 individual waffle stitch squares, each worked in a different color combination, then seamed together and finished with a simple border. Each square measures approximately 6 inches. Follow these detailed instructions carefully, and you'll have a beautiful, textured pillow in no time.
Square Pattern (Make 9)
Each square follows the same basic waffle stitch pattern. The only difference between squares is the color combination used. Here's the complete pattern for one square:
Foundation: Chain 22.
Row 1: DC in 4th ch from hook (counts as first DC), DC in each ch across. (20 DC total)
Row 2: Ch 3 (counts as DC), turn. *FPdc around next st, DC in next st; repeat from * across, ending with DC in top of turning ch. (10 FPdc, 10 DC)
Row 3: Ch 3 (counts as DC), turn. *DC in next st, FPdc around next st; repeat from * across, ending with DC in top of turning ch. (10 DC, 10 FPdc)
Rows 4-13: Repeat Rows 2 and 3 alternately, maintaining the waffle pattern. This means you'll work Row 2, then Row 3, then Row 2 again, and so on, until you've completed a total of 13 rows. Fasten off and weave in ends.
Understanding the Waffle Stitch: The waffle stitch creates its distinctive texture by alternating front post double crochet (FPdc) stitches with regular double crochet (DC) stitches. The FPdc stitches create the raised "bumps" of the waffle, while the regular DC stitches form the recessed channels. When you work Row 2, you're creating the raised bumps; when you work Row 3, you're creating the recessed areas. This alternating pattern is what gives the waffle stitch its beautiful, honeycomb-like appearance.
Color Combinations for Squares
To achieve the beautiful gradient effect, use the following color combinations for your 9 squares:
- Square 1: A (Sand) – all rows
- Square 2: B (Terracotta) – all rows
- Square 3: C (Dusty Rose) – all rows
- Square 4: D (Sage) – all rows
- Square 5: E (Cream) – all rows
- Square 6: A & B – alternate rows (Row 2 in A, Row 3 in B, etc.)
- Square 7: B & C – alternate rows
- Square 8: C & D – alternate rows
- Square 9: D & E – alternate rows
Pro Tip for Alternating Colors: When working with two colors in a square, you'll change colors at the beginning of each row. Simply drop the old color and pick up the new color when you chain 3 to start the next row. Leave a tail of about 6 inches when you switch colors, and weave in all ends when you finish the square.
Assembly
Once you've completed all 9 squares, it's time to assemble your pillow. Follow these steps carefully:
Step 1: Arrange the Squares
Lay out your squares in a 3x3 grid, alternating colors for a balanced gradient effect. Here's a suggested arrangement:
Top row: Square 1 (Sand) | Square 6 (Sand/Terracotta) | Square 2 (Terracotta)
Middle row: Square 7 (Terracotta/Dusty Rose) | Square 3 (Dusty Rose) | Square 8 (Dusty Rose/Sage)
Bottom row: Square 4 (Sage) | Square 9 (Sage/Cream) | Square 5 (Cream)
This arrangement creates a beautiful diagonal gradient from Sand in the top left to Cream in the bottom right. Feel free to experiment with different arrangements to find the one you like best!
Step 2: Seam the Squares Together
With right sides together, whip stitch the squares together using a tapestry needle and matching yarn. Start by seaming the squares in each row together, then seam the rows together. Ensure all seams are neat and flat. Take your time with this step—neat seams make a professional-looking finished pillow.
Step 3: Check Your Work
After seaming, turn your work right side out and check that all squares are aligned properly and the seams are secure. The waffle texture should be consistent across all squares, creating a beautiful, cohesive pattern.
Border
The border adds a crisp, finished edge to your pillow. Follow these instructions carefully:
Step 1: Attach Yarn
With right side facing, attach Cream (E) yarn to any corner of your assembled pillow front.
Step 2: First Round – Single Crochet
Work 1 round of single crochet (SC) around the entire outer edge, working 3 SC in each corner. This creates a clean, even edge that will frame your pillow beautifully. Work 1 SC in each stitch across the top and bottom edges, and 1 SC in each row end along the sides.
Step 3: Second Round – Reverse Single Crochet (Crab Stitch)
Work 1 round of reverse SC (crab stitch) for a finished edge. The crab stitch is worked from left to right (opposite of regular SC) and creates a beautiful, twisted rope-like edge. To work the crab stitch: insert your hook into the next stitch to the right, yarn over, pull up a loop, yarn over, and pull through both loops on the hook. Continue this around the entire edge.
Step 4: Fasten Off
Fasten off and weave in all ends carefully. Make sure all yarn tails are securely hidden within the stitches.
Finishing
The final steps will complete your beautiful pillow:
Step 1: Prepare the Back
Insert a 16-inch square pillow form through the back opening. If you've made your pillow as a single piece (not a cover with an opening), you'll need to create a back panel. You can either crochet a simple solid square in Cream (E) using the same foundation and row counts as your waffle squares, or use fabric to create a backing.
Step 2: Add a Closure (Optional)
If desired, add a simple button or zipper closure on the back for easy removal. This is a great option if you want to be able to wash your pillow cover. To add a button closure, sew buttons along one edge of the back opening and create buttonholes or loops on the other edge. For a zipper, sew a zipper along the back opening before seaming the sides.
Step 3: Close the Opening
Alternatively, sew the opening closed with a whip stitch using matching yarn. This creates a permanent closure that's simple and secure.
Step 4: Final Touches
Once your pillow is assembled, give it a gentle blocking to even out the stitches and enhance the waffle texture. Simply mist the pillow with water and lay it flat to dry, or use a steam iron on a low setting (being careful not to flatten the texture). Fluff the pillow and place it in your favorite spot!
Tips for Success
Here are some additional tips to ensure your Aurora Dune Throw Pillow turns out perfectly:
- Check your gauge: Before starting, make a small swatch to ensure your tension matches the gauge. This will ensure your squares come out the correct size.
- Count your stitches: The waffle stitch is easy to lose track of, so count your stitches at the end of each row to ensure you haven't accidentally added or dropped any.
- Weave in ends as you go: To save time at the end, weave in yarn tails as you complete each square rather than waiting until the end.
- Block your squares: Before seaming, block each square to ensure they're all the same size and shape. This will make assembly much easier.
- Use stitch markers: Place stitch markers at the corners when working the border to ensure you don't forget to work the 3 SC corner increases.
This Aurora Dune Throw Pillow is a wonderful project that combines the satisfying texture of the waffle stitch with a beautiful, modern color palette. The result is a cozy, handcrafted accent piece that will bring warmth and style to any room. Whether you're making it for yourself or as a gift, this pillow is sure to be treasured for years to come. Happy crocheting!