Aurora Boreal Braided Cowl Free Pattern – Knit a Two-Layered Nordic Wrap

Aurora Boreal Braided Cowl: A Free Knitting Pattern for a Two-Layered Nordic Wrap
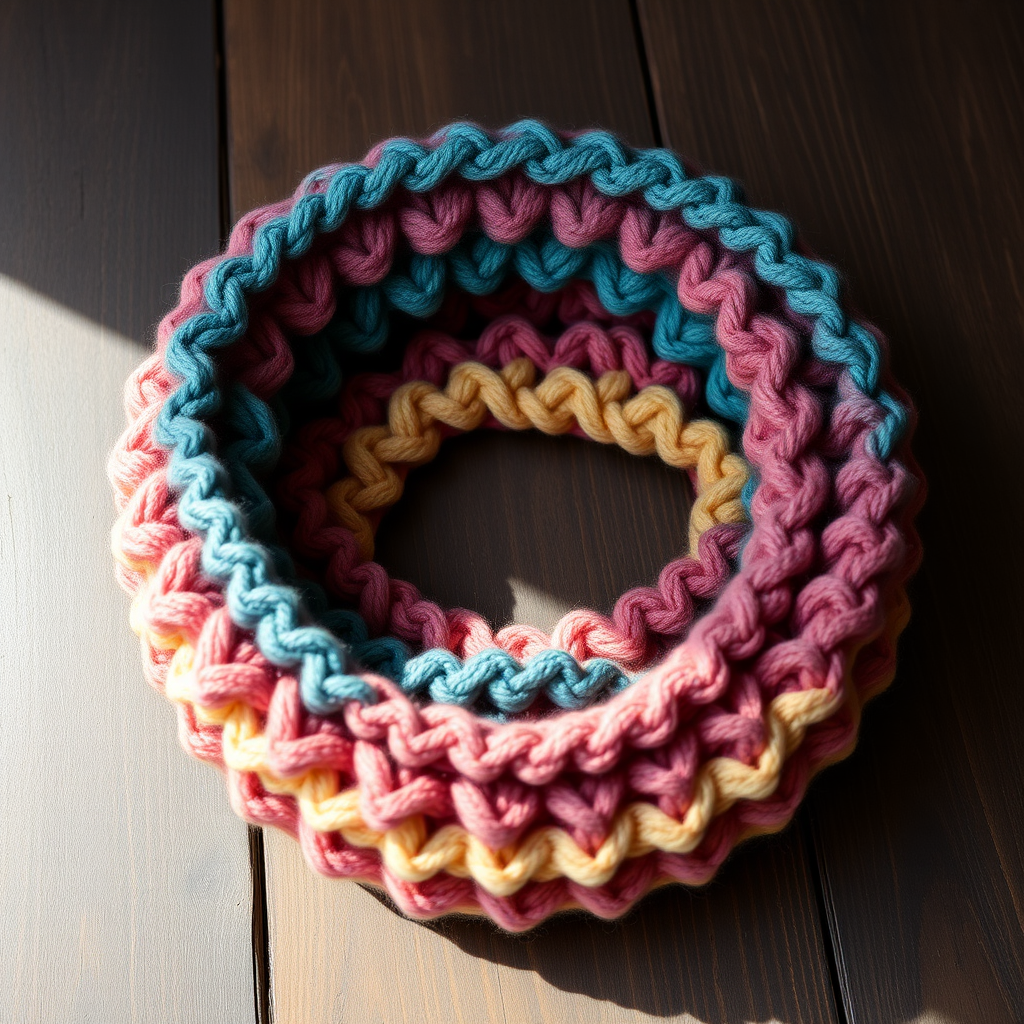
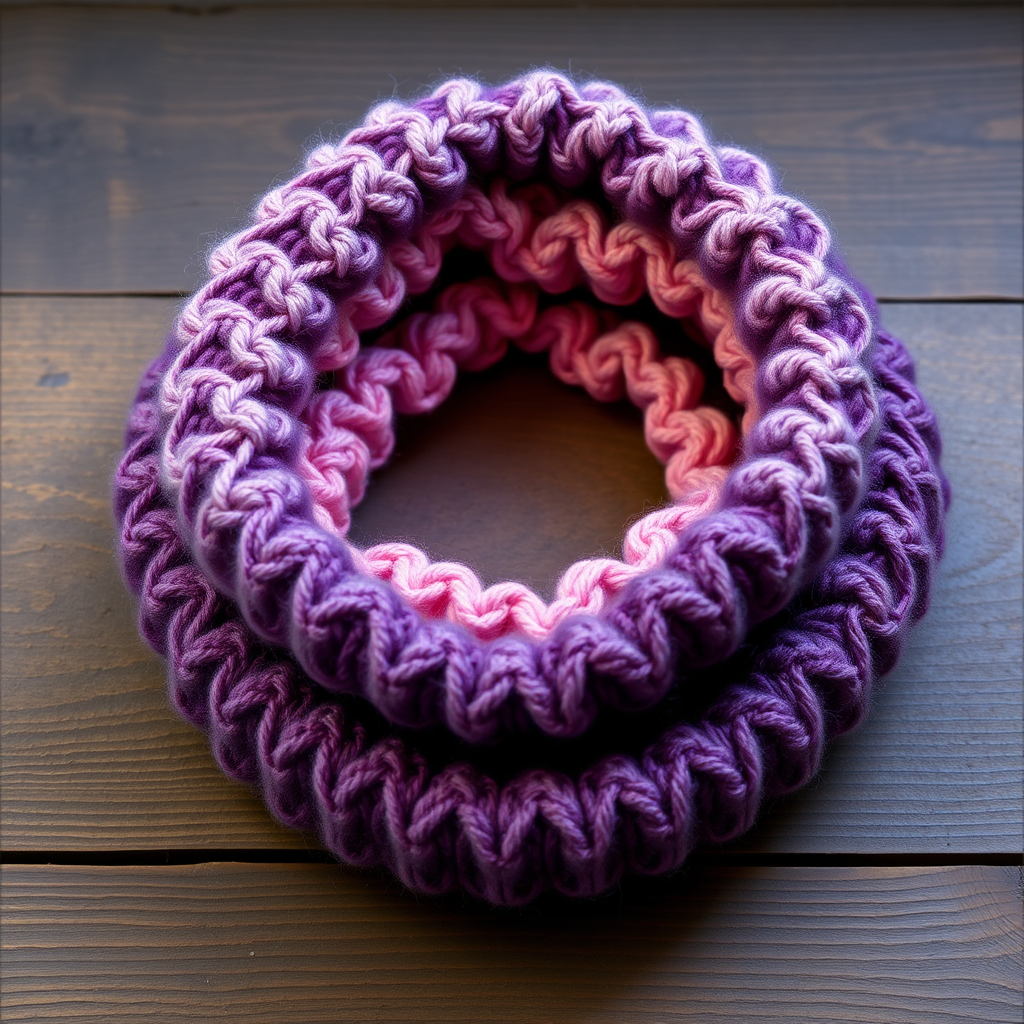
Wrap yourself in the ethereal beauty of the northern lights with this stunning two-layered braided cowl. The Aurora Boreal Braided Cowl features a chunky, sculptural cable that mimics the flowing ribbons of the aurora borealis, creating a dramatic, twisted effect that's both cozy and eye-catching. Knit in soft, heathered worsted weight yarn, this accessory is the perfect statement piece for chilly days, adding a touch of Nordic elegance to any winter wardrobe.
This pattern is designed for adventurous beginners and intermediate knitters alike. The magic lies in the clever construction: you'll knit two separate tubes—a cabled outer layer and a smooth inner layer—then join and braid them together for a unique, ruffled look. The result is a warm, double-layered wrap that drapes beautifully and feels incredibly plush against your neck.
Materials Needed
Before you begin, gather the following supplies to ensure a smooth knitting experience:
- Yarn: Worsted weight yarn in two complementary colors. You will need approximately 250g of Color A (main color, e.g., deep teal) and 250g of Color B (contrast color, e.g., soft lavender).
- Needles: US 9 (5.5mm) circular knitting needle with a 24-inch cable. You will also need a cable needle for the braided cable pattern.
- Notions: Stitch markers, tapestry needle for weaving in ends, and scissors.
Gauge: 18 stitches and 24 rows = 4 inches in stockinette stitch. Always take time to check your gauge to ensure the correct finished size.
Step-by-Step Instructions
This cowl is knit in two layers that are joined and braided together. The outer layer features a dramatic cable pattern, while the inner layer is a smooth, cozy stockinette tube. Both layers are knit in the round, then the outer layer is braided with the inner layer to create a unique twisted effect.
Abbreviations
- CO: Cast on
- K: Knit
- P: Purl
- C4F: Slip 2 stitches to cable needle, hold in front, knit next 2 stitches, then knit 2 from cable needle
- C4B: Slip 2 stitches to cable needle, hold in back, knit next 2 stitches, then knit 2 from cable needle
- K2tog: Knit two stitches together
- PM: Place marker
- St(s): Stitch(es)
Outer Layer (Cable Pattern)
Using Color A (deep teal), cast on 96 stitches. Join in the round, being careful not to twist your stitches. Place a marker (PM) at the beginning of the round.
- Rounds 1-4: *K2, P2* repeat to end of round.
- Round 5: *C4F, C4B, P2* repeat to end of round. (This creates the braided cable effect)
- Rounds 6-8: *K8, P2* repeat to end of round.
Repeat Rounds 5-8 until the outer layer measures 10 inches from the cast-on edge. End after completing a Round 8.
- Next Round (Decrease Round): *K2tog, K2tog, K2tog, K2tog, P2* repeat to end of round. (You will now have 80 stitches on your needle)
- Rounds 1-4: *K2, P2* repeat to end of round.
Bind off loosely in pattern (knit the knits and purl the purls).
Inner Layer (Stockinette Tube)
Using Color B (soft lavender), cast on 80 stitches. Join in the round, being careful not to twist. Place a marker for the beginning of the round.
- Knit every round until the inner layer measures 12 inches from the cast-on edge.
Bind off loosely.
Assembly and Braiding
This is where the magic happens! Follow these steps carefully to create the braided effect.
- Layer the Tubes: Place the inner layer (lavender) inside the outer layer (teal), aligning the cast-on edges. The inner layer will be slightly longer, creating a beautiful layered effect at the bottom.
- Secure the Base: Using a tapestry needle and a length of Color A yarn, secure the two layers together at the cast-on edge with a few firm stitches. This will keep the layers from shifting.
- Create the Braid: Cut a length of Color B yarn (about 3 yards). Thread it through a tapestry needle.
- Weave the Drawstring: Starting at the cast-on edge, weave the needle in and out of the outer layer's cable stitches, going around the entire circumference of the cowl. This will create a drawstring effect.
- Gather the Fabric: Pull the yarn tight to gather the outer layer, creating a ruffled, braided look. The inner layer will peek out below, creating a beautiful contrast.
- Secure and Finish: Secure the yarn ends with a few knots and weave in all loose ends using your tapestry needle.
- Optional Enhancement: For a more dramatic effect, add a few more braided yarn strands at different heights around the cowl, repeating steps 3-5.
Finishing Touches
To give your cowl a professional, polished look, it's important to block it properly.
- Soak: Gently soak the cowl in lukewarm water with a small amount of wool wash for about 15-20 minutes.
- Rinse and Press: Carefully rinse and press out excess water. Do not wring or twist.
- Dry Flat: Lay the cowl flat on a clean towel, shaping it to its intended dimensions. Allow it to dry completely away from direct sunlight or heat.
Blocking will even out your stitches and enhance the beautiful cable definition, giving your Aurora Boreal Braided Cowl that perfect, handcrafted finish. Enjoy your new cozy, statement-making accessory!