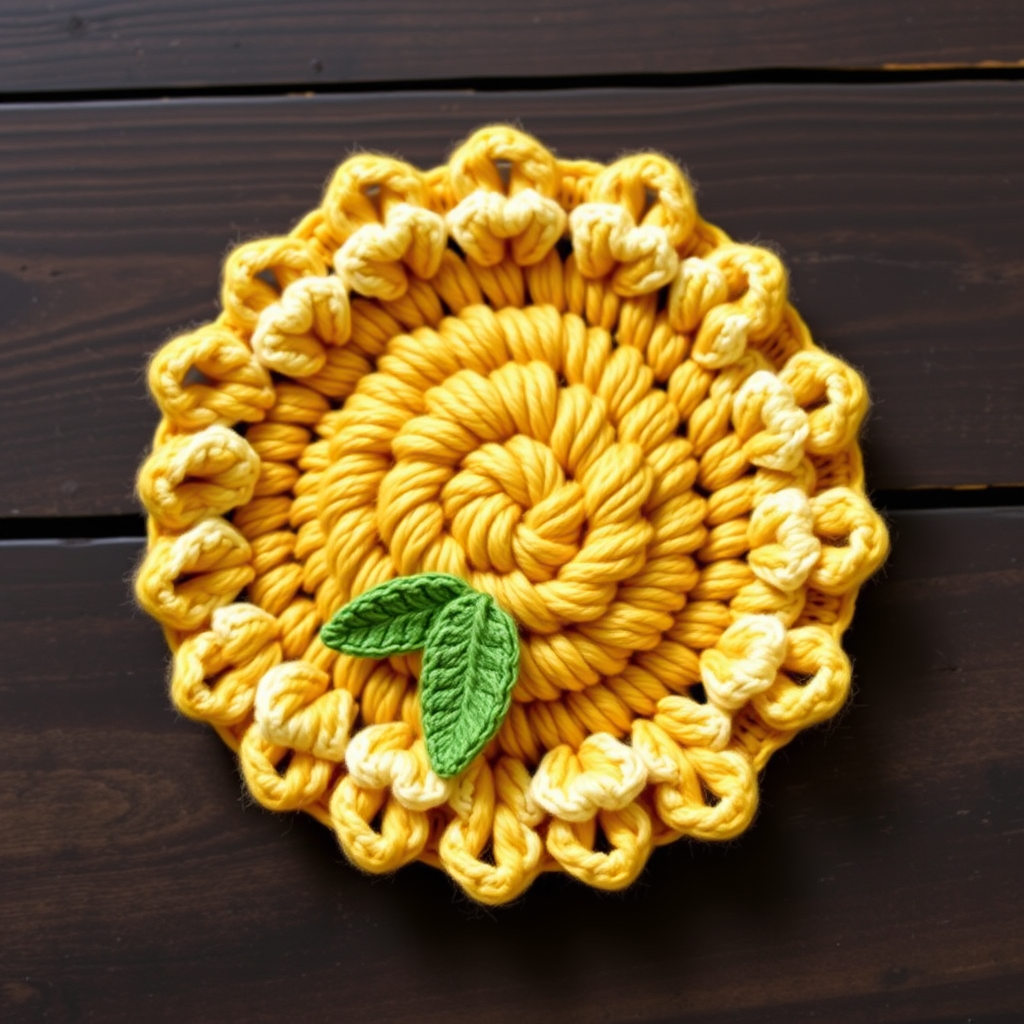
Aurora Bloom Mandala Wall Hanging Free Pattern – Crochet a Celestial Tapestry

Aurora Bloom Mandala Wall Hanging Free Pattern – Crochet a Celestial Tapestry
Transform your living space into a sanctuary of celestial calm with this stunning Aurora Bloom Mandala Wall Hanging. This intricate yet accessible crochet project weaves together cosmic colors—from deep indigo to soft lilac, dusty rose, golden amber, and cream—into a radiant, textured centerpiece that captures the ethereal beauty of a cosmic flower or sunburst. Perfect for boho, celestial, or minimalist interiors, this meditative pattern yields a perfectly flat, symmetrical tapestry approximately 24 inches in diameter. Whether you're a seasoned crocheter or a confident beginner ready for a rewarding challenge, this free pattern will guide you through every stitch to create a breathtaking piece of handmade art.
Materials Needed
Before you begin, gather the following supplies to ensure a smooth and enjoyable crochet session:
- Yarn: Worsted weight cotton yarn in 5 colors (approximately 250 yards total):
- Color A: Deep Indigo
- Color B: Soft Lilac
- Color C: Dusty Rose
- Color D: Golden Amber
- Color E: Cream
- Hook: 5.0 mm (H-8) crochet hook
- Stitch marker (to track the start of each round)
- Scissors for weaving in ends and trimming fringe
- Tapestry needle for weaving in ends
- Optional: Wooden dowel or branch for hanging (if not using the crochet loop)
Gauge: First 5 rounds = 4 inches in diameter. Gauge is not critical for this project, but maintaining consistent tension is key to achieving a flat, even mandala.
Step-by-Step Instructions
This mandala is worked in continuous spiral rounds, then finished with a hanging loop and optional fringe. Use a stitch marker to track the start of each round. The pattern uses standard US crochet terminology.
Round 1: The Magic Ring Foundation
With Color A (Deep Indigo), make a magic ring. Work 12 double crochet (dc) into the ring. Pull the tail tightly to close the ring completely. Place your stitch marker to mark the beginning of the round. (12 stitches)
Round 2: Doubling Up
Still with Color A, work 2 double crochet (dc) into each stitch around. This doubles your stitch count, creating the foundation for the mandala's growth. (24 stitches)
Round 3: Introducing Color B
Change to Color B (Soft Lilac). *Work 2 dc into the next stitch, 1 dc into the next stitch.* Repeat from * to * around. This creates the first increase pattern that will continue throughout the project. (36 stitches)
Round 4: Continuing with Lilac
With Color B, *work 2 dc into the next stitch, 1 dc into each of the next 2 stitches.* Repeat from * to * around. (48 stitches)
Round 5: Switching to Dusty Rose
Change to Color C (Dusty Rose). *Work 2 dc into the next stitch, 1 dc into each of the next 3 stitches.* Repeat from * to * around. (60 stitches)
Round 6: Rose Expansion
With Color C, *work 2 dc into the next stitch, 1 dc into each of the next 4 stitches.* Repeat from * to * around. (72 stitches)
Round 7: Golden Amber Arrives
Change to Color D (Golden Amber). *Work 2 dc into the next stitch, 1 dc into each of the next 5 stitches.* Repeat from * to * around. (84 stitches)
Round 8: Amber Growth
With Color D, *work 2 dc into the next stitch, 1 dc into each of the next 6 stitches.* Repeat from * to * around. (96 stitches)
Round 9: Cream Enters the Palette
Change to Color E (Cream). *Work 2 dc into the next stitch, 1 dc into each of the next 7 stitches.* Repeat from * to * around. (108 stitches)
Round 10: Cream Expansion
With Color E, *work 2 dc into the next stitch, 1 dc into each of the next 8 stitches.* Repeat from * to * around. (120 stitches)
Round 11: Indigo Returns
Change to Color A (Deep Indigo). *Work 2 dc into the next stitch, 1 dc into each of the next 9 stitches.* Repeat from * to * around. (132 stitches)
Round 12: Indigo Growth
With Color A, *work 2 dc into the next stitch, 1 dc into each of the next 10 stitches.* Repeat from * to * around. (144 stitches)
Round 13: Lilac Returns
Change to Color B (Soft Lilac). *Work 2 dc into the next stitch, 1 dc into each of the next 11 stitches.* Repeat from * to * around. (156 stitches)
Round 14: Lilac Expansion
With Color B, *work 2 dc into the next stitch, 1 dc into each of the next 12 stitches.* Repeat from * to * around. (168 stitches)
Round 15: Rose Returns
Change to Color C (Dusty Rose). *Work 2 dc into the next stitch, 1 dc into each of the next 13 stitches.* Repeat from * to * around. (180 stitches)
Round 16: Rose Growth
With Color C, *work 2 dc into the next stitch, 1 dc into each of the next 14 stitches.* Repeat from * to * around. (192 stitches)
Round 17: Amber Returns
Change to Color D (Golden Amber). *Work 2 dc into the next stitch, 1 dc into each of the next 15 stitches.* Repeat from * to * around. (204 stitches)
Round 18: Amber Expansion
With Color D, *work 2 dc into the next stitch, 1 dc into each of the next 16 stitches.* Repeat from * to * around. (216 stitches)
Round 19: Cream Returns
Change to Color E (Cream). *Work 2 dc into the next stitch, 1 dc into each of the next 17 stitches.* Repeat from * to * around. (228 stitches)
Round 20: Final Growth Round
With Color E, *work 2 dc into the next stitch, 1 dc into each of the next 18 stitches.* Repeat from * to * around. (240 stitches)
Round 21: Picot Edging
Change to Color A (Deep Indigo). Work a picot edging around the entire circumference: *3 chain (ch), slip stitch (sl st) into the 3rd ch from hook, skip 1 stitch, sl st into the next stitch.* Repeat from * to * around. This delicate border adds a refined, finished look to your mandala. Fasten off and weave in all ends carefully with your tapestry needle.
Finishing Touches
Creating the Hanging Loop
With Color A (Deep Indigo), create a chain of 30 stitches. Slip stitch this chain to the top of the mandala, positioning it between two stitches on the outer edge. This simple crochet loop provides a sturdy and elegant way to display your wall hanging. Alternatively, you can thread a wooden dowel or branch through the loop for a more rustic, boho aesthetic.
Adding Optional Fringe
For an extra touch of bohemian flair, add fringe to the bottom edge of your mandala. Cut 12-inch strands of colors B, C, D, and E. Fold each strand in half, insert the folded end through an edge stitch, and pull the loose ends through the loop. Pull tight to secure. Space the fringe evenly around the bottom third of the mandala, alternating colors for a vibrant, textured effect. Once all fringe is attached, trim the ends evenly for a polished look.
Pro Tips for a Perfect Mandala
- Maintain Consistent Tension: Keep your tension even throughout to ensure the mandala lies flat. If you notice ruffling, your tension may be too loose; if it's cupping, tighten up slightly.
- Use a Stitch Marker: Always keep your stitch marker in place to track the start of each round. This prevents accidental increases or decreases.
- Weave in Ends as You Go: To save time at the end, weave in yarn tails after each color change. This keeps your work tidy and prevents tangling.
- Blocking for Perfection: After finishing, gently block your mandala by pinning it to a flat surface and misting with water. Allow it to dry completely for a perfectly flat, symmetrical shape.
Your Aurora Bloom Mandala Wall Hanging is now complete! This celestial tapestry will bring a touch of cosmic serenity to any room, serving as a beautiful reminder of the meditative joy of handmade craft. Hang it proudly and enjoy the radiant burst of color and texture you've created with your own hands.